Date: 24 Jun 2018
Care for ultra-tropical plants
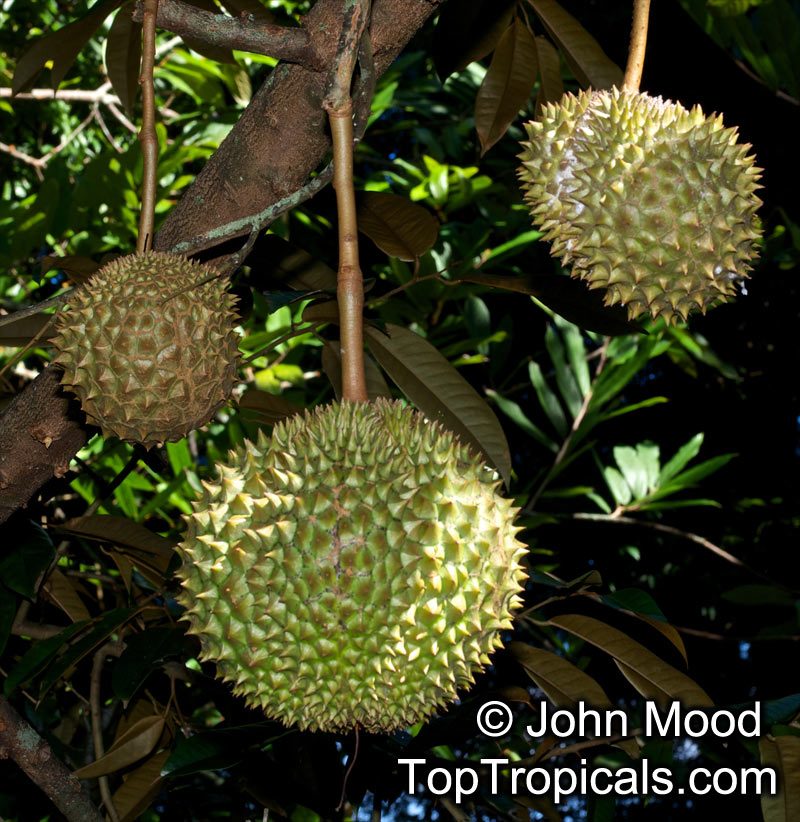
Some tropical plants like Durian, Breadfruit, Cacao are
rare in plant collections and require true tropical
environment for successful growing and most likely
greenhouse conditions unless you live in mild tropical
climate like Hawaii. These plants are hard to find and are
not cheap. They can be shipped to you in original
containers via Express mail and usually take trip well as
long as there are no delays or overheating (or cold)
during transportation. To enjoy your rare plant collection
gem, please make sure to follow these recommendations:
- Keep your eye on delivery, track the shipment and make
sure package is not left outside in the heat or cold.
- Unpack immediately and put plant in humid, warm
environment with filtered light. Remember, "warm" for
tropical plant means 78-85F.
- If a plant is wilted, put clear plastic bag over leaves
to increase humidity for a few days. Keep the branches
covered with clear plastic, in shade only - to avoid
overheating.
- Keep soil slightly moist and don't let dry out. These
plants like water as well as good drainage.
- Keep plant in original container until recovers from
shipping stress. If necessary, re-pot in 2-3 weeks in
bigger pot with rich organic potting mix, containing a lot
of peat moss, and perlite or bark for good drainage.
- Grow these plants in warm and mild conditions, in
filtered light, high humidity, with no temperature
extremes. Remember to keep these plants at temperatures
above 50F at all times.

 Plant Care Tips by Top Tropicals Plant
Expert Tatiana Anderson
Plant Care Tips by Top Tropicals Plant
Expert Tatiana Anderson