Date: 5 Jan 2025
Condo (Dwarf)
Mango Practical Guide:
What varieties are good for container culture
or small yards
Q: "Our winters are too cold for a mango tree, but I'd like to grow one in a pot so I can bring it inside during cold nights. Which varieties do you recommend for container gardening? I've heard of Condo Mango - do you carry them?"
A: Yes, we always carry Condo Mango varieties: they are a fantastic choice for gardeners with limited space or in cooler climates. They grow well in containers and can be easily maintained through pruning. Whether you're growing them on a balcony, in a greenhouse, or in a backyard, Condo Mangos provide the perfect mix of beauty and practicality.
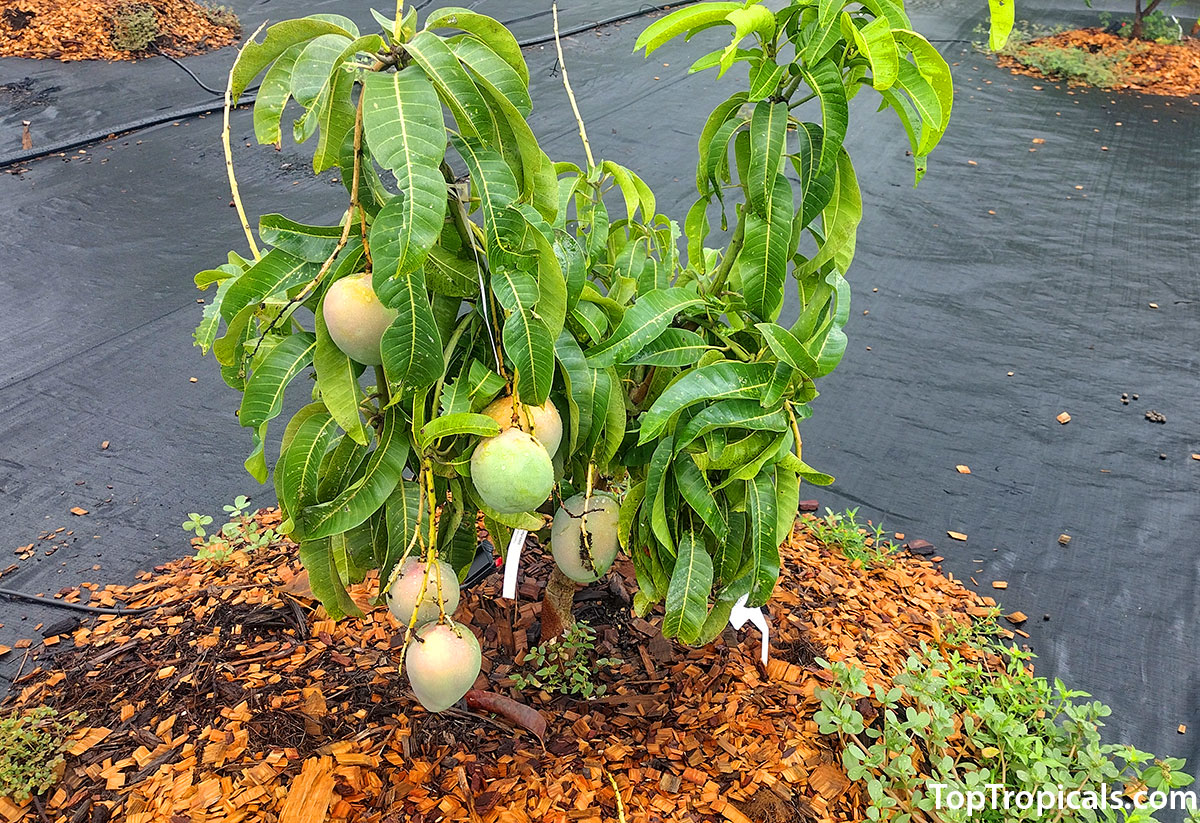
What Are Condo Mangos?
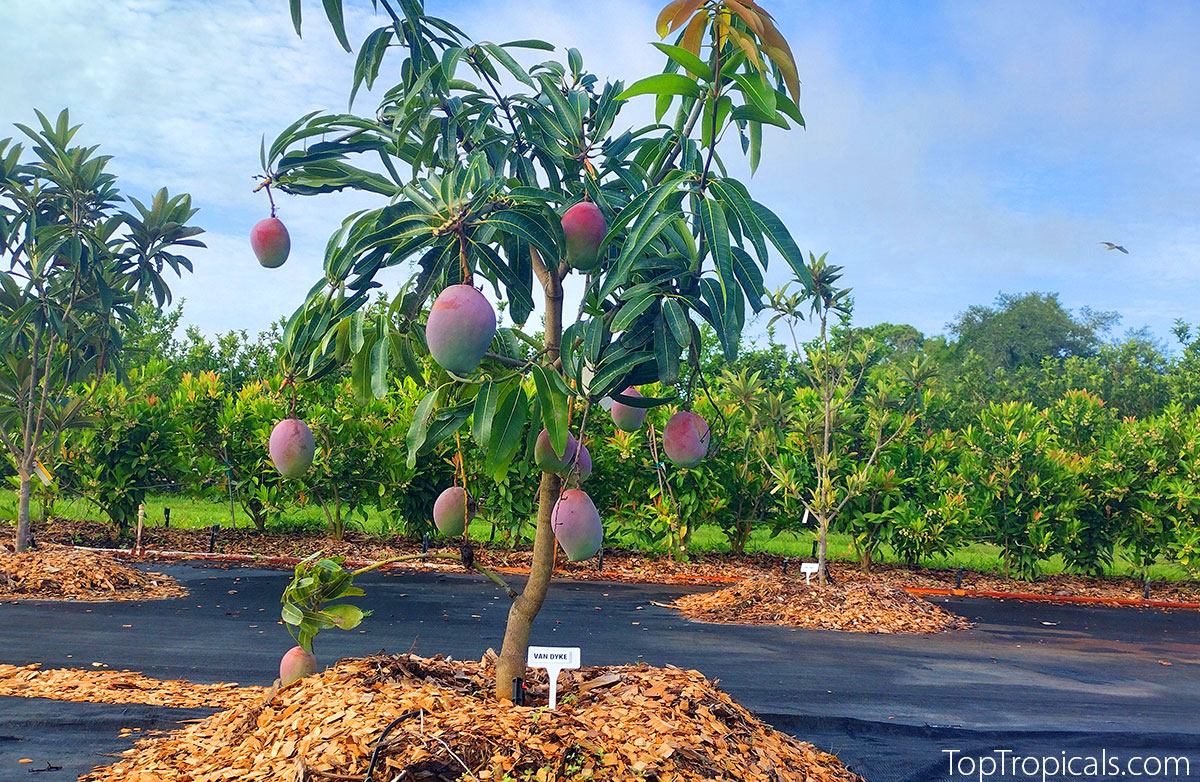
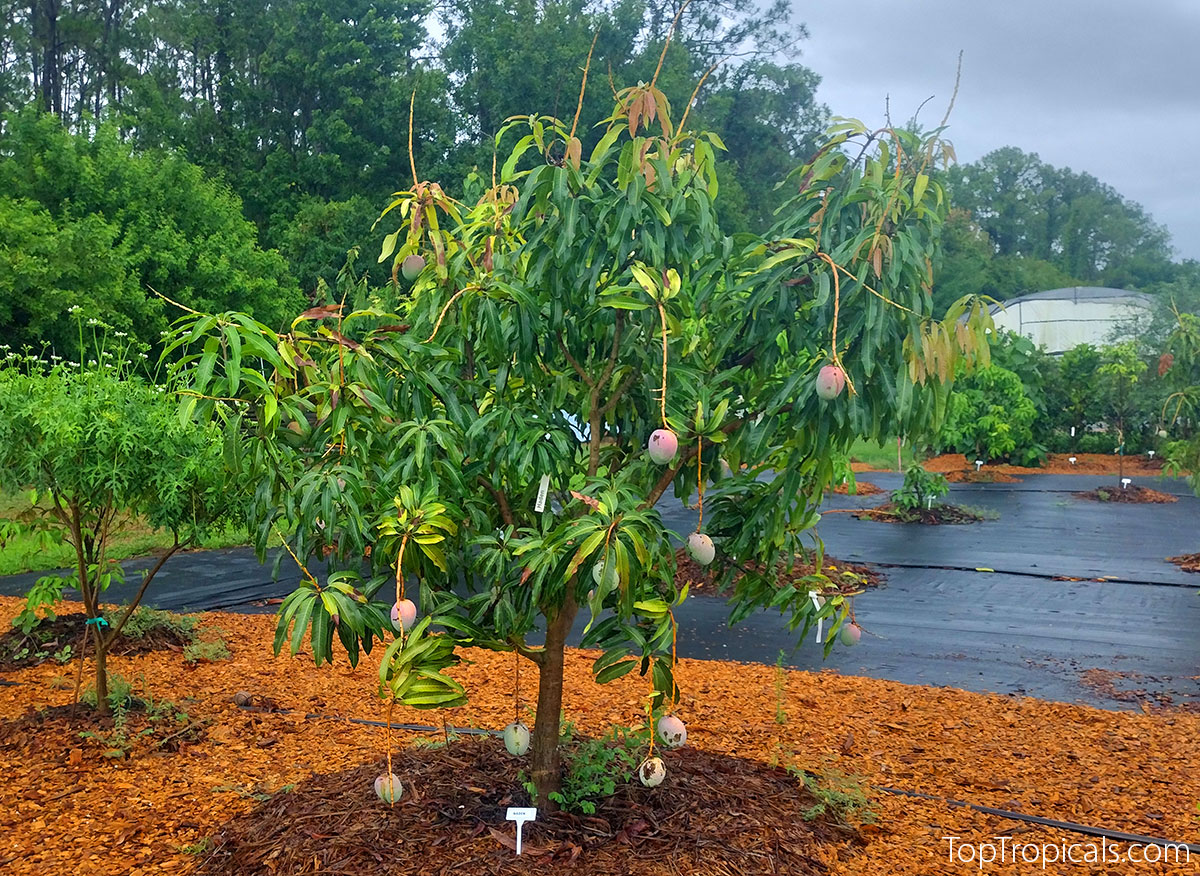
Condo Mangos, also known as dwarf mango trees, are perfect for small spaces. These trees can be grown in containers, making them ideal for balconies, greenhouses, or small suburban backyards. With proper care, they can be maintained at a manageable height of 6-10 feet through regular pruning. Some plant enthusiasts even manage growing Mango tree as an indoor plant!
The term Condo Mango
Condo Mango refers to mango varieties that thrive in containers and are small by nature, allowing them to be easily kept even smaller with selective pruning.
Size and Growth
Unlike traditional mango trees, Condo Mangos are compact. They naturally grow to around 6-10 feet, but with proper pruning, they can be kept small, making them an excellent choice for limited space.
Growing in Containers
- Condo Mango trees thrive in pots and containers.
- A 15-20 gallon pot is ideal to give the roots enough room to grow.
- Ensure your container has drainage holes to prevent root rot.
Planting Tips
- Plant Condo Mangos in full sun, where they'll get plenty of heat and
light.
- Use well-draining soil for optimal growth.
- Fertilizer regularly with quality plant food. Out best choice is Sunshine Mango Tango for edibles.
- Late Winter to early Spring is the best time to plant in containers,
before the rainy season starts.
- Mangoes grow well in USDA zones 9-10, but if you live in cooler climates,
you can grow them indoors or in a greenhouse, as long as you meet their heat
and light needs.
Pruning and Maintenance
- Prune Condo Mango trees once a year to keep them at the desired height
(6-10 feet), right after harvesting (late Summer to Fall)
- Trim the tips of the branches to maintain a compact shape and encourage
healthy growth.
- Regular pruning will help keep the tree manageable and ensure better
fruit production.
Learn more: Find out what are Top 10 Dwarf Condo Mango - great for container culture.
")