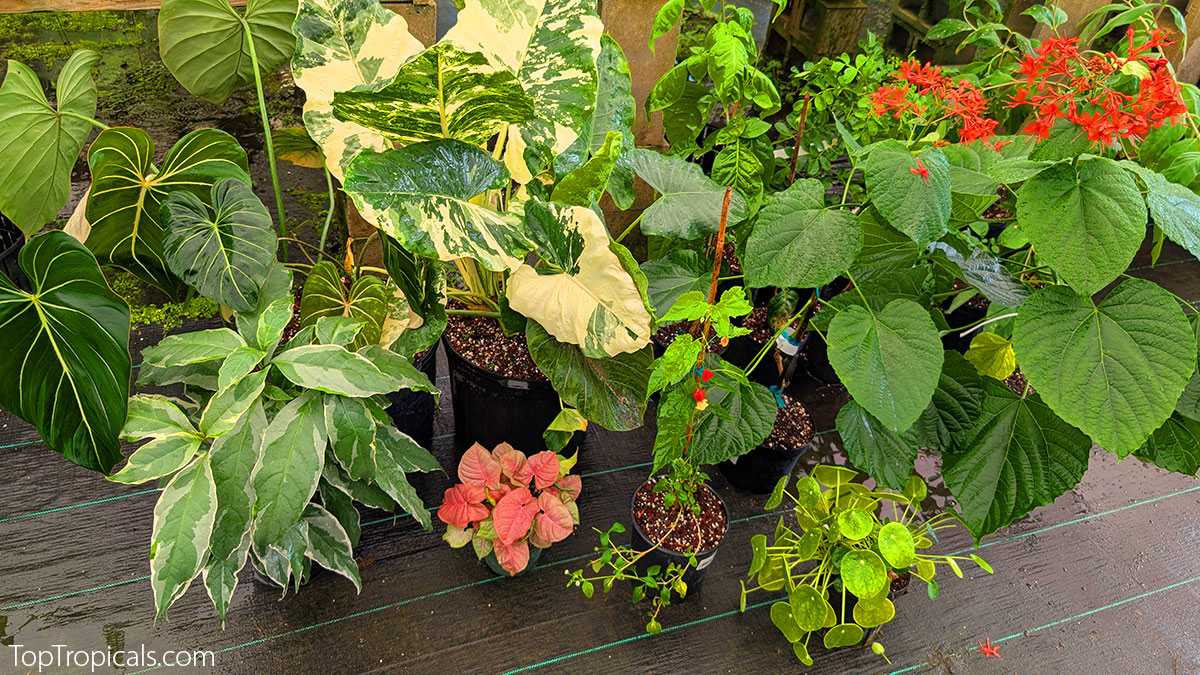
After a busy summer of growth, many potted plants are bursting out of their containers. Now is the perfect time to step them up into a slightly larger
pot.
🌱 Why now in August?
Repotting before fall gives roots room to expand, while
there’s still warmth for active growth. Plants have time to sprout new shoots, fill out, and build strength before cooler weather slows them down.
✂️ Trim and Shape
This is also your last chance to give plants a light trim.
Pinching or cutting back helps them branch, bush out, and get denser — exactly what you want going
into fall.
👉 Watch our
on how to step up your plant the right way, then check your pots
— some of your summer growers are ready to move up!
⚠️ Important Note on Timing
This advice is for gardeners in warm climates or for anyone who still has at least a month of warm weather left. Tropical plants go dormant when
temperatures drop below 75F, so planting in a larger pot at that time may cause root rot — roots stop growing in dormancy, and extra moisture in the soil can lead to rotting.
Pick a pot just a few inches larger than the old one.
✅ Make sure it has good drainage — tropical plants hate sitting in water. A pot without drainage holes can cause waterlogging and root rot.
Why plastic pots are better than fancy ceramic
Ceramic pots may look pretty, but they are heavy, breakable, and often lack proper drainage. Plastic pots are lightweight, easier to handle, and — most importantly — if a plant is root-bound and stuck, you can simply cut the plastic pot
to free it without harming the roots. For looks, slip the plastic pot inside a decorative cover pot.
Why turn it upside down? Gravity helps loosen the plant, and it
slides out more easily without tugging.
Never pull a plant by its head (stems or leaves). That can damage the crown and tear
roots.
If it doesn’t come out easily: lay the pot on its side and
gently squeeze or tap the pot to dislodge the soil. If it is really stuck,
cut the old pot instead of forcing the plant.
Check the Root System
If roots are circling tightly (pot-bound), gently untangle or
loosen the outside layer so they will grow outward into the new soil.
Do not shake off or remove old soil from the root ball. Roots have
tiny hairs that absorb water and nutrients, and damaging them will set the
plant back. Keep the root mass intact and disturb as little as possible.
Set at the Same Level
Place the plant in the new pot so it sits at the same soil level as
before.
👉 This is important: burying the stem too deep can suffocate it,
while setting the plant higher than before may expose roots and cause drying.
Keeping the level the same protects the root crown.
Fill and Firm
Add more soil and fertilizer around the sides. Press lightly around the
edges to remove air pockets.
Water Thoroughly
Give it a deep watering to help roots settle.
Aftercare
Don’t water again until the top inch of soil feels dry.
Freshly repotted plants are vulnerable to soggy soil and root rot if kept too
wet.
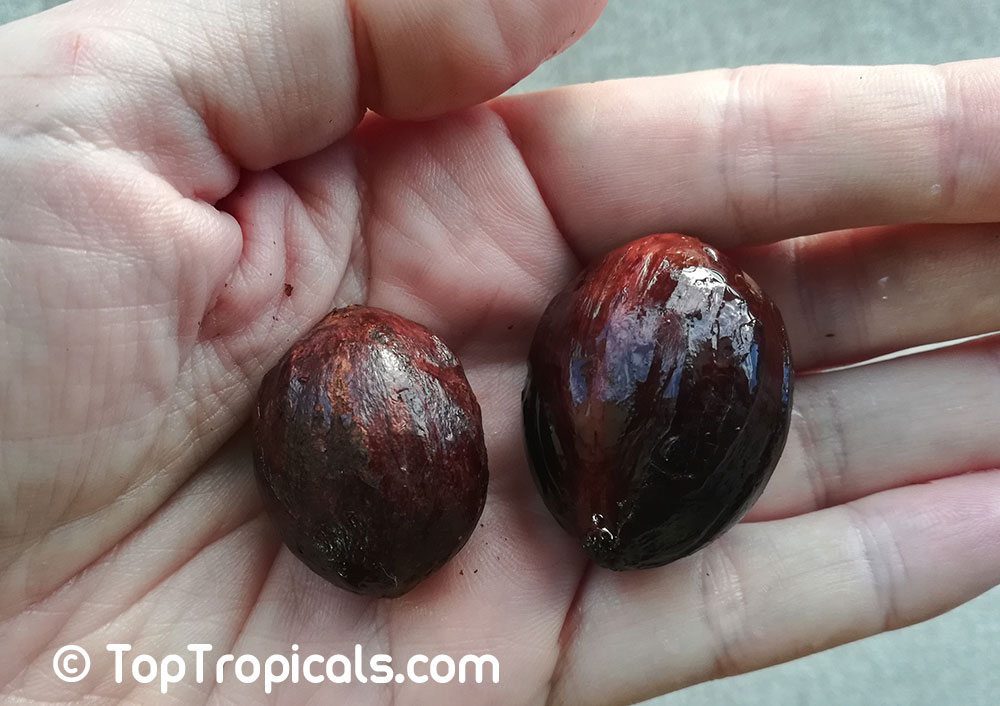
Growing Nutmeg from seed: secrets of successful germination
Q: I
received a Nutmeg nut and I am wondering do I need to open a hard shell before
planting it? Any other tips on growing nutmeg from seed? When will you have
Nutmeg plants for sale?
A: We just
received fresh nutmeg seeds from Sri Lanka and planted them right away, so
we should have Nutmeg plants by Spring/Summer. These are some tips on how to
make germination a success:
- nutmeg seeds are viable only for a few weeks after harvesting so
plant them as soon as possible.
- wash the seed and soak it in warm (100F) water with a few drops of SUNSHINE-S
booster that improves germination. Soak for up to 24 hours. You may use
a thermos to keep it warm.
- there is no need for scarification. The outer shell of nutmeg is
hard, however, it is not thick so the water will penetrate easily. On the photo
above, you can see 2 seeds: the one on the right expanded twice in size after
sozking.
- Plant in a porous soilless mix, preferably light seed germination mix, in 4-6"pot, and keep moist but not soggy. You
may cover the pot with plastic to keep moisture in.
- Unless you are germinating the seed in hot tropical conditions, you
should use bottom heat - 80-85F. A heating pad is the best solution (make sure
it doesn't have a timer that automatically shuts it off). For safety, use
GFI protected electric outlets since you will be watering the pot.
- Be patient and allow a few weeks for germination. Once the seed
sprouted, keep it in bright filtered light and apply SUNSHINE Superfood to young seedling, along with a small dose of Slow Release Fertilizer, for kickstart.
- Move the seedling out in bright sun light once the temperature
outside is above 70F.
We have a very long waiting list for Nutmeg plants (item 3878) and seeds (item 6203), so you may reserve one for yourself using our Wishlist
form; this way you will be notified immediately when we have the plants in
stock, as they won't last long. A few seeds are still available for sale,
order now while they are fresh:
Date: 2 Nov 2018
Happy Hobby: growing tropicals from seeds
Q: What is
the best time to start tropical plants from seeds? Should I wait till
spring?
A: If you
want to feel happier, get into gardening. If you want to feel God, start
plants from seeds and watch New Life grow from a tiny grain. Fall is a perfect
time to start tropicals from seed.
Traditionally, people prefer sowing seeds in Spring, especially
temperate species for a vegetable garden: tomatoes, peppers, cucumbers... My
grandmother up North started them in early Spring in paper cups on a windowsill,
then once the temperatures went just above freezing, she planted them out in the
garden beds, and that early start always helped her to have the best early
crop in the neighborhood.
When we deal with tropical plants, "just above freezing" is not warm
enough. Which means you have to grow small babies indoors for quite a while,
providing additional heating when needed. Heating pads always work best. If you
keep your living space around 75F (ideal for many species), this is a
perfect temperature to get your seeds started. Tropical plants are not like annual
tomatoes that try to grow through the season as fast as possible. They take
time. So the sooner you start, the more chances to get small seedlings just in
time when Spring air outside is "warm enough" for those tropicals - at least
in 70's.
A great advantage of starting tropical seeds indoors is controlled
temperature and moisture. In the plant world, environment extremes are not good
for the germination process. Mild conditions of your home or a greenhouse
create better chances for successful growth. Seeds won't get overheated in the
hot Summer sun, and won't rot because of a sudden heavy rain. Just keep in mind
that some species require light for good germination.
For the best seed germination:
- Use only well-drained mix - we recommend special Seed Germination Mix #3, professional grade. Put seeds not too deep
(1/2 inch deep or less) to allow air circulation
- Soak large seeds for a few hours with Sunshine-S solution
- Keep warm (75-85F) and in bright light
- Keep soil slightly moist but not soggy
- Apply micro-element booster SuperFood to baby seedlings for vigorous growth
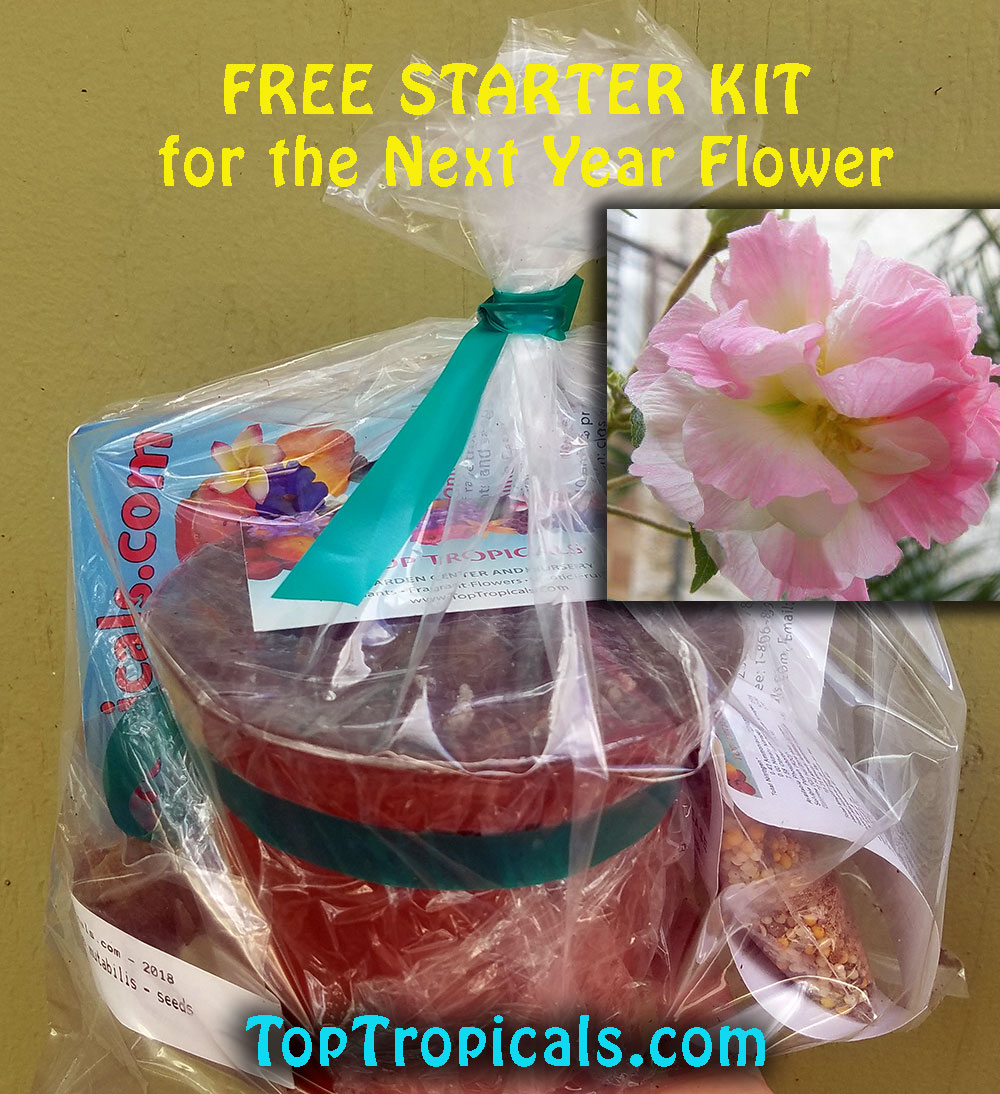
Sign up for Happy Miles Card and/or attend Harvest Fest and get
a FREE STARTER KIT for the Next Year Flower that
includes:
- Sunshine S
-
fertilizer
- Literature on Sunshine, seed germination, fertilizer
and Soil
- A pot with professional seed growing mix
- Seeds of Cotton Candy Hibiscus - a
seed pod with lots of seeds inside.
Sign up for FREE Happy Miles card and get the kit RIGHT
NOW! Hurry up while supply lasts!