Garden Blog - Top Tropicals

Date: 27 Feb 2020

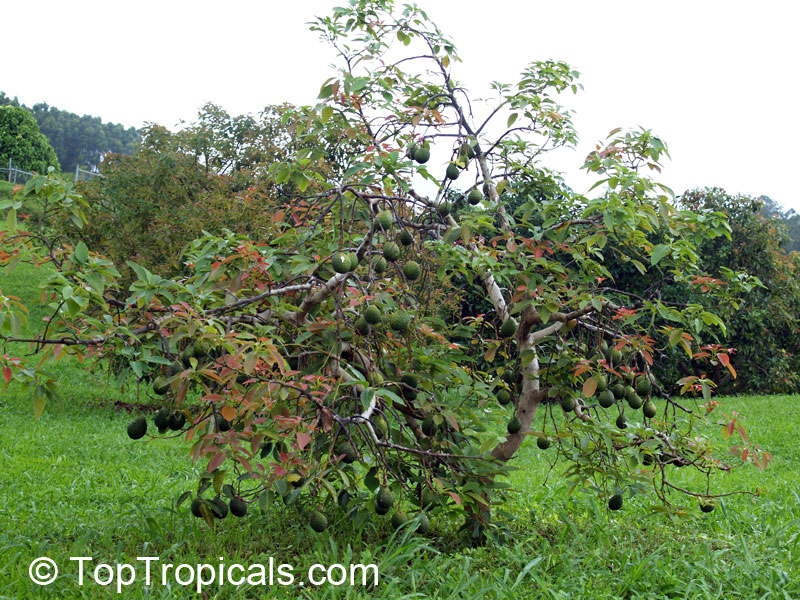
7 secrets of a Happy Avocado Tree

Q: I purchased an avocado tree from local garden centers three times but every time it dies on me. My neighbor has a nice tree in his yard and it grows beautifuly. I just purchased one online from you and I need to know what I was doing wrong? Are there any secrets how to make an Avocado tree happy? I have a big garden and several mango trees, but no luck with Avocado...

A: Avocado tree is famous for being such a pain to establish. But once it starts growing, it's growing! We will share a few simple tricks how to make it right.

1. Plant high and provide good drainage. Wet feet is number one reason for failing an avocado tree. It doesn't like wet soil and won't tolerate soggy conditions. Plant it in the highest spot of your yard and slightly on a "hill" (3-4"higher than the surrounding ground).
DO NOT plant Avocado tree in low spots or wet spots of your yard. Save those spots for Cannas or Black Sapote or even a Mango if you want a fruit tree there.
2. Use quality soil. Use only well-drained soil with high content of organic matter. You may add compost to existing sandy soil, or add some professional potting mix that contains pine bark and perlite. Remove rocks from the hole if you see any while digging. Dig a big hole and fill it with a good soil; compact the soil in the hole very well before setting the root ball. Reminder: plant the tree high!
3. Water regularly. After planting an Avocado tree in a nice high spot with a good drainage, start watering it... daily! Avocado likes water, although it doesn't like wet feet! Once you figure out this combination, you've got the recipe of success. Water by hand daily for the first week after planting, then twice a week for couple weeks, then once you notice new growth - you may rely on sprinklers, but keep watching the tree and don't let the soil over-dry. It must be slightly moist, but not soggy.
4. Fertilize. For such finicky tree, we suggest mild formulas of fertilizers. Dry fertilizers may burn roots, especially of a young tree. Even smart-release granulated fertilizers should be used very carefully. The best 
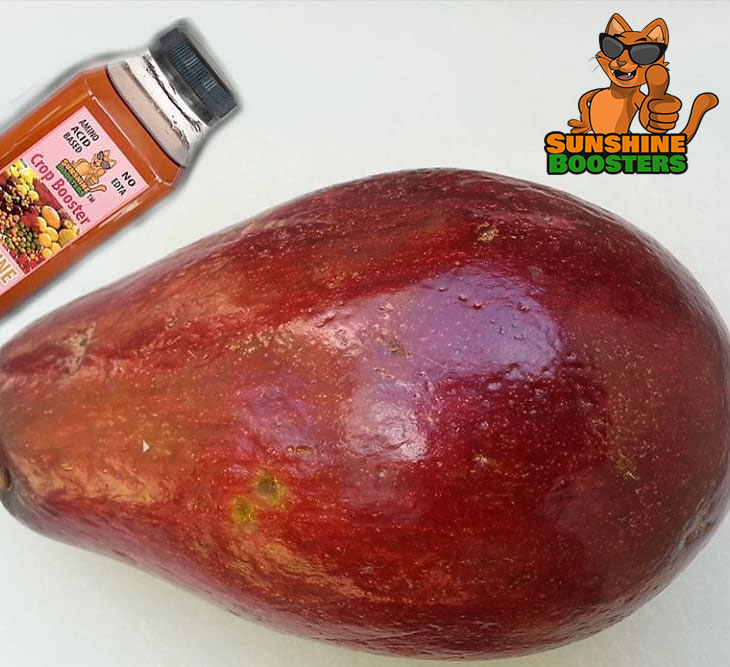
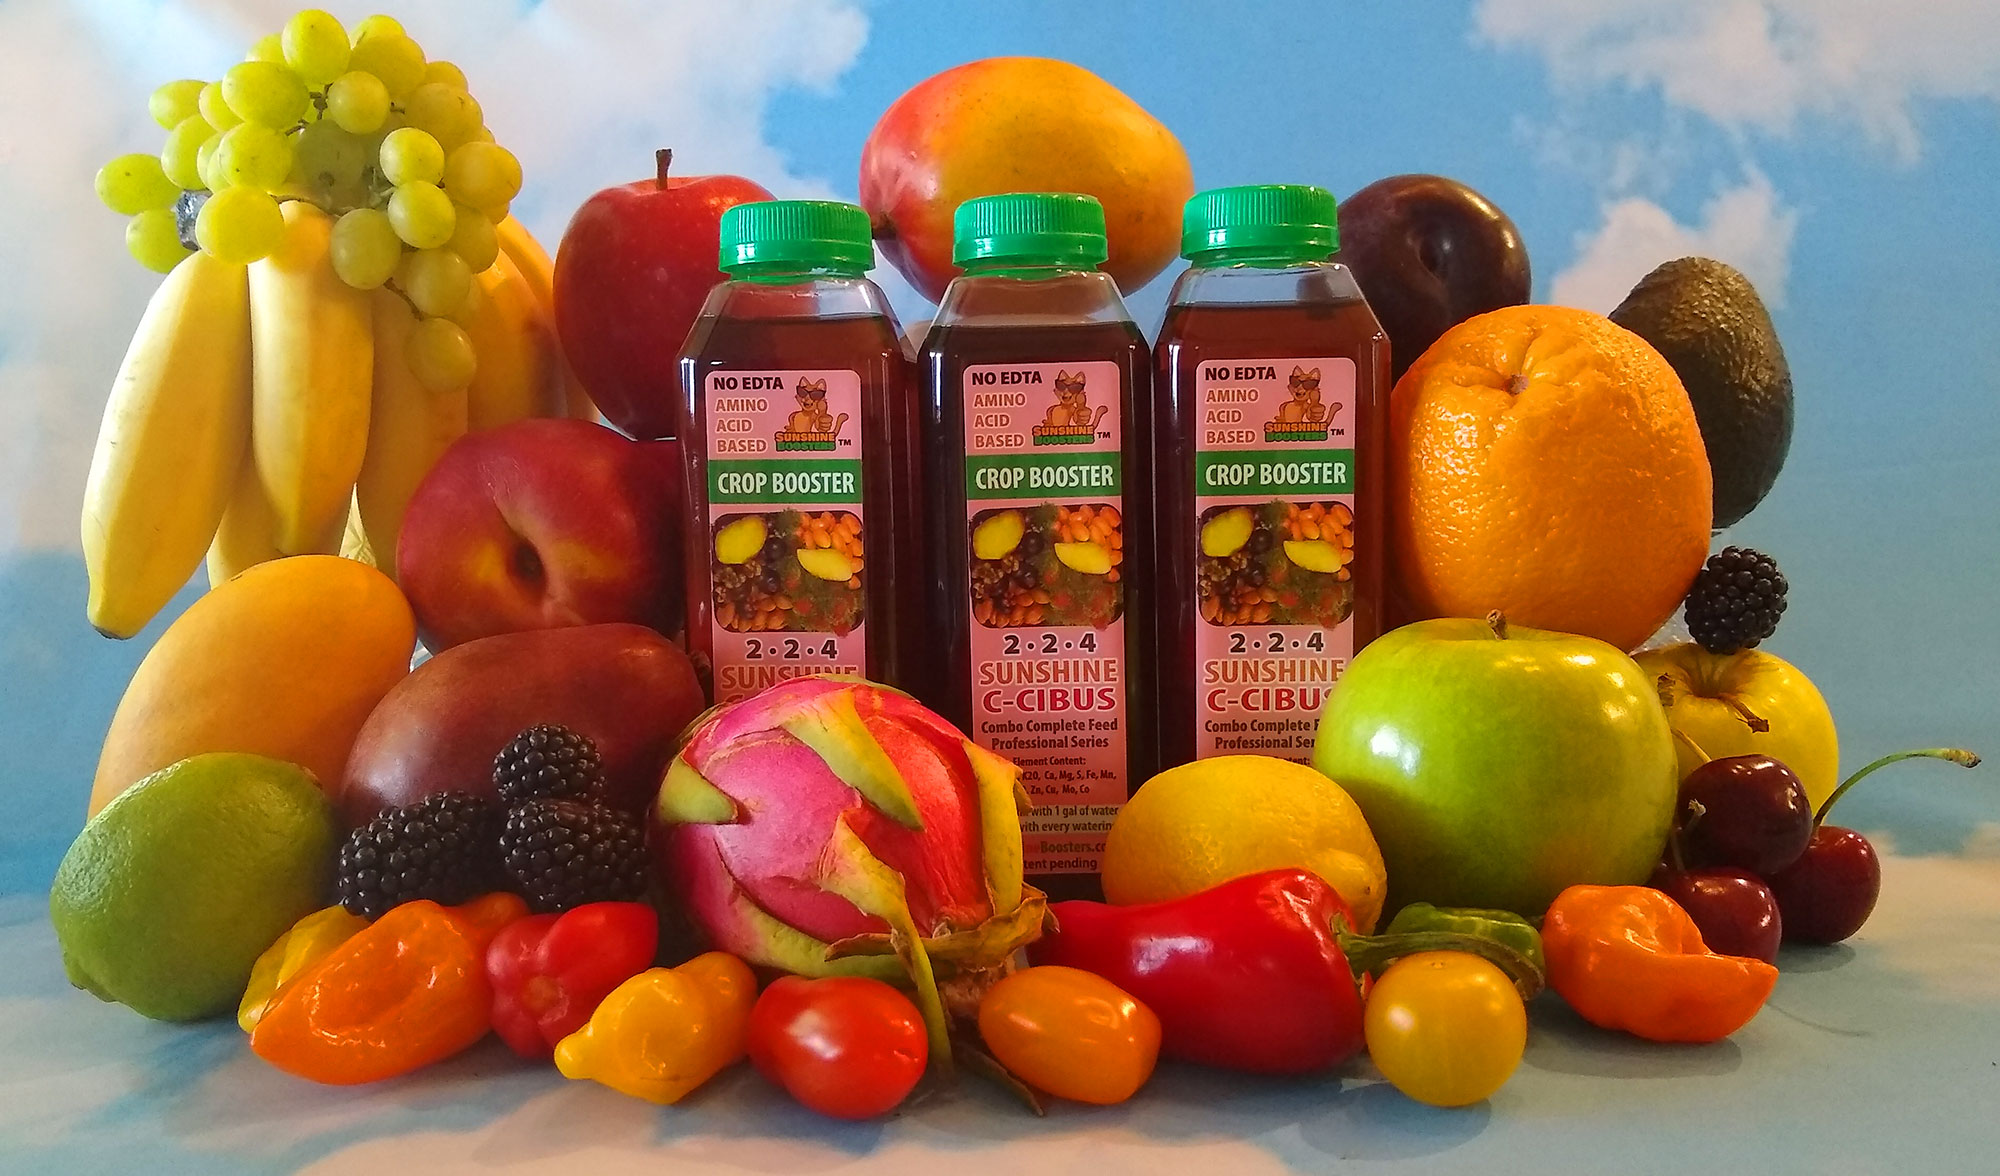
way to feed your young avocado tree - get a complete set of Sunshine Boosters Pro system. It has all necessary elements for all stages of plant development and never burns the roots. Sunshine Boosters Pro can be used with every watering - no need to guess how much and when. Besides, it is a natural fertilizer based on amino acids - exactly what you want to use on your fruit trees and other edibles!
5. Boost immune system of the tree. Apply Sunshine Epi plant hormone every 2 weeks as a foliar spray to boost immune system and metabolism of the tree and protect it from diseases. Epi makes plants (especially young plants) grow twice faster! It also enhances effect of fertilizers by increasing plant metabolism.
6. Do not prune until you see significant growth. The tree is small and can use as many leaves and branches as possible for photosynthesis and healthy metabolism. We suggest to avoid pruning for at least the first year. On the second year your tree most likely will be covered with flowers (assuming you followed fertilizer program). Let it go through the blooming stage and setting fruit; prune in Fall after fruiting is over.
7. Keep number of fruit to minimum for the first crop. Don't let the small tree exhaust itself. Keep just 2-3 fruit to develop. The next year, no need to control fruit quantity, the tree will develop as many as it can support.
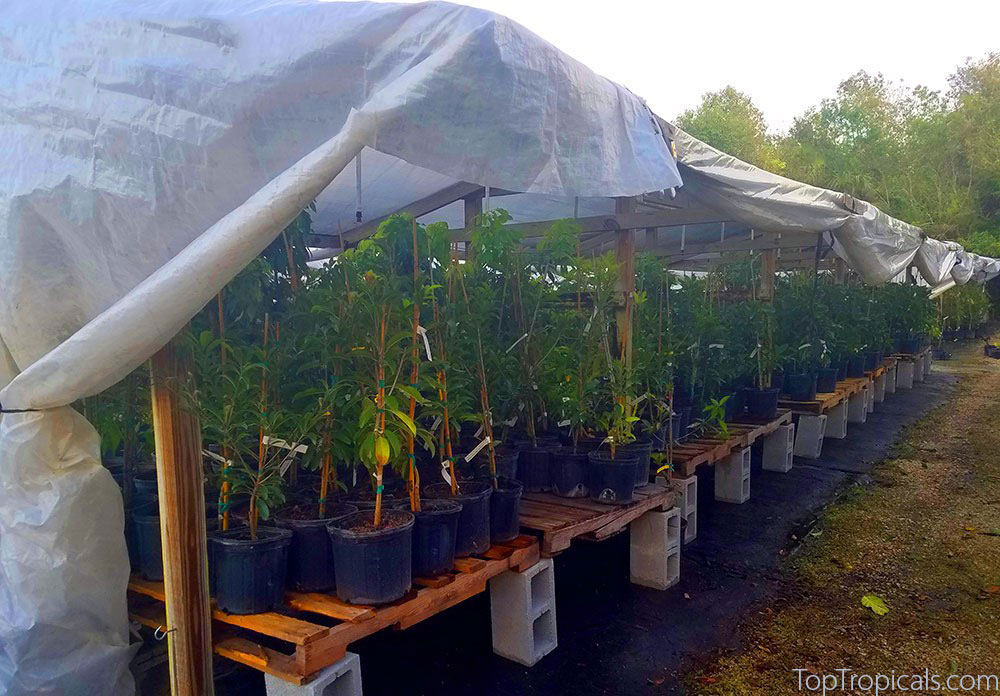
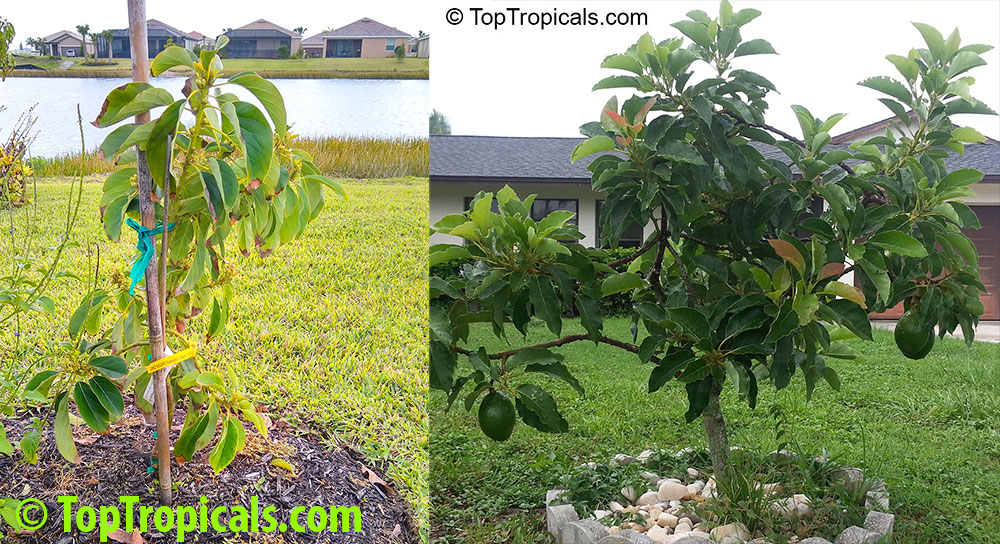
P.S. If you got the tree from a mail-order, remember to establish it in a pot before planting in the ground; move gradually from shade to sun. Follow planting instructions.

Learn more about Sunshine Nutrition System - a Natural solution for your garden.

Date: 13 Aug 2020

Healthy Plant Food

Q&A from Mr Booster

Establishing Avocado Tree

Q: I received my avocado Wurtz tree yesterday. Per instructions I have put the tree in a pot first. However I am having difficulty deciding what to trim off. Yesterday I removed obvious damaged leaves. However as you can see, the leaves are lighter in some areas and contain yellow and red in some spots. What would you advise? Given this is a critical state as I do not want to shock the tree after the trip, I would like to do everything possible to protect it and ensure viability.

A: Your Avocado tree looks great and healthy overall. You've done excellent job planting it. Wurtz is a good, vigorous variety, while the tree is somewhat dwarf, great for containers.
You are right, it is the best for the tree to leave it alone and do not trim or remove leaves any more, until it starts showing new growth. Then it will be obvious what needs to be trimmed. Reddish/orange color of young leaves is normal. If any spots or dots - no need to remove those leaves yet. Wait until the plant grows more leaves. It needs them for photosynthesis, in order to become stronger.

Keep the tree in bright shade and gradually move from filtered sun to full sun. Water daily. Within a week or two after planting, you can start applying mild fertilizer and micro-elements. We recommend at this growth stage:
SUNSHINE C-Cibus - Crop Nutrition Booster
SUNSHINE SuperFood - Micro-element Plant Booster

SUNSHINE C-Cibus - Crop Nutrition Booster from Garden Series, or Combo Total Feed Collection - all nutrients in just one bottle, for fruit trees and edibles.

Date: 19 Apr 2026

Complete Adenium Care Guide: 9 tips how to keep it simple and thriving

Asdenium plants on the table with adenium soil mix and fertilizer

Asdenium plants on the table with adenium soil mix and fertilizer

🌸 Complete Adenium Care Guide: 9 tips how to keep it simple and thriving


Adeniums don’t need intense care - just the right balance.
Most problems come from too much water, not enough light, or the wrong soil.

Adenium Plant Facts

Botanical name: Adenium sp.
Also known as: Adenium, Desert Rose, Impala Lily
USDA Zone: 9 - 10
Highligths Plant with caudexLarge shrub 5-10 ft tallSmall tree 10-20 ftFull sunWater Requirement: Low. Allow soil to dry out between wateringsWatering: Moderate. Water when top soil feels dryYellow, orange flowersRed, crimson, vinous flowersUnusual colorBlue, lavender, purple flowersWhite, off-white flowersPink flowersToxic or Poisonous
Get personalized tips for your region


🌸 1. Soil is everything


Why it matters
Adeniums are succulents with thick roots and a caudex that stores water. They must never sit in wet, heavy soil.
Most problems come from soil that stays wet too long - leading to root rot, soft caudex, weak growth, and poor flowering.
Good soil builds strong roots, dries faster, supports a healthy caudex, and improves blooming.

Ideal soil formula
Use a very fast-draining, airy mix with perlite, bark, sand, coconut fiber. Avoid heavy peat-based mixes.
A simple formula: TopTropicals Abundance potting mix + coarse sand (50/50). Use coarse sand (for construction), not fine beach sand. Sand improves drainage, structure, and aeration.
You can also add lava rock and charcoal.

Soil pH
Adeniums prefer slightly alkaline soil. Too much peat (acidic) holds moisture and increases rot risk.
Tip: add a few sea shells on top - watering slowly raises pH.

Golden rule
Better too fast-draining than too heavy.
You can water more. You can’t fix rot.

🌸 2. Containers


Use shallow, unglazed clay pots. They dry faster, improve airflow, and stabilize the plant as the caudex gets heavy.
Do not oversize - keep close to root ball.
When repotting, raise the caudex slightly each time to develop that thick base.

🌸 3. Light


Give as much light as possible.
Full sun is best, but in very hot climates, bright filtered light prevents leaf burn and helps flowers last longer.
Too little light = weak growth and poor blooming.

🌸 4. Watering


Water deeply, then let soil dry out completely before watering again.
Do not keep soil constantly wet. Adeniums prefer the dry side and hate sitting in moisture.
In rainy climates, protect from excess water. Keep under cover - bright light, no constant soaking.

🌸 5. Fertilizer


Feed lightly and regularly during active growth.
Use liquid fertilizer Sunshine Megafloк Bloom Booster on soil and lightly on leaves - avoid the caudex.
Bloom boosters (high phosphorus) support flowers and caudex growth.
Add controlled-release fertilizer (Green Magic) twice a year - spring and late summer. Do not fertilize during winter dormancy.
Add microelements (iron, boron, molybdenum) - Sunshine Superfood supplement - for healthier leaves and longer blooms.

🌸 6. Trimming (pruning)


Trim after flowering, especially leggy branches.
Pruning encourages branching - more branches = more flowers.
Don’t be afraid to cut - it improves structure and blooming.

🌸 7. Caudex development (secret trick)


When repotting, raise the caudex slightly above soil level.
Combined with regular feeding (bloom booster), this helps develop a thicker, more pronounced base.

🌸 8. Seedlings vs grafted plants


Seed-grown plants form a natural caudex but take 2-3 years to bloom and do not come true to type (often simple pink).
Grafted plants combine a developed caudex with a known variety.
Best choice for predictable, high-quality blooms.

🌸 9. Troubleshooting


If something goes wrong, check these first:
· Too much water
· Not enough light
· Soil too heavy
Fix these, and your plant will recover.

🛒 Explore Exotic Thai Adeniums

📚 Learn more:


· Adenium varieties in Plant Encyclopedia
· About #Adenium Rainbow - fantastic varieties
· Adenium rainbow - warm, bright, and full of energy
· Adenium rainbow - pink in every shade
· Dark tones that don’t look real. Secret of a Big Caudex.
· Variegated and impossible to ignore adeniums that change your collection. Soil tips.
· We picked 6 adeniums - you’ll probably want all 6. Soil and Watering tip.
· A few adeniums you don’t want to miss. Trimming tip.
· The adenium colors everyone is talking about right now. Light tips for hot climates.
· Adenium rainbow: these 6 will pull you in. Fertilizing tips.
· How to start your dream collection: before you start
· How to grow a happy Adenium

#Container_Garden #Adeniums #How_to #Discover

🟢 Join 👉 TopTropicals

Date: 10 Nov 2025

❄️ How to Prepare Your Tropical Garden for Winter

Two  cats  in  a  tropical  garden  at  sunset.  Smokey,  a  black-and-white 
 tuxedo  cat  wearing  a  wool  cap,  holds  a  thermometer  while  Sunshine,  a  fluffy 
 orange  tabby,  sits  beside  mulch  and  folded  frost  cloths  surrounded  by  banana
    and  hibiscus  plants.

Smokey and Sunshine Wrap Up the Garden with Frost Cloth Before the Chill.

Smokey: "Thermometer says 45. Time to wrap the bananas!"
Sunshine: "You wrap the bananas. I’ll guard the mulch… from this sunny spot."
Smokey: "Teamwork, Sunshine. Teamwork."

🌡️ Cold nights are coming - but your tropicals do not need to shiver!

Even in sunny Florida and other warm zones, one cold snap can undo months of growth. Preparation is everything. Tropical plants can handle a lot, but they dislike surprises. Let’s make sure your garden stays safe, strong, and happy all winter long.

Tips from Tatiana Anderson, Top Tropicals Plant Expert

👉 Group and Check Your Plants

You already know which plants are in pots and which are in the ground. What matters now is prioritizing by cold sensitivity. Identify the tender tropicals – papaya, banana, plumeria, adenium, heliconia – and decide which ones get covered first when temperatures drop. Keep frost cloths or old sheets near those areas, ready to grab fast. If your garden is large, label protection zones or mark plants that always need extra care. The goal is to have a plan, not a panic, when the cold alert hits.

Once you know your priorities, you can plan the rest of your protection strategy.

👉 Feed and Mulch

Stop using high-nitrogen fertilizers by late fall. They push soft new growth that freezes easily. Add compost around the base of your plants and top with 3 to 4 inches of mulch. Mulch acts like a blanket: it keeps warmth in, protects the roots, and keeps soil moisture steady. Just make sure the soil drains well; cold and soggy soil leads to root rot. In raised beds, check that water flows away easily.

After you feed and mulch, it is time to look at how your local zone changes the game.

👉 Zone-by-Zone Tips

Woman  sitting  between  two  large  potted  tropical  plants  on  a  wooden  deck
    in  front  of  a  house,  preparing  to  move  them  indoors  for  the  winter.

Moving Tropical Plants Indoors for Winter Protection

  • Zone 10: You are lucky! This is mostly a maintenance season. Watch for root rot after heavy rain, trim lightly if needed, and protect tender young trees during surprise chills. Keep some frost cloth ready just in case.
  • Zone 9: This is the main action zone. Nights can dip into the 30s. Deep-water your trees once before cold nights to insulate the roots. Apply heavy mulch, and have frost protection ready to go. If you grow tropical fruit like mango or guava, consider wrapping young trunks in burlap or foam pipe insulation.
  • Zone 8: This is where tropical gardening becomes creative. Stick to cold-hardy tropicals such as loquat, guava, or cold-hardy avocado varieties. Use portable greenhouses, wrap trunks, and move smaller plants indoors or to a heated porch when frost threatens.

Now that the garden beds are set, let’s look at your pots and containers – your most mobile plants.

👉 Container and Patio Plants

Potted plants are the easiest to protect but also the quickest to freeze. Start reducing watering now so roots do not stay too wet in cooler weather. Before moving them, check for insects hiding under leaves or in the soil. Group your pots close to a wall for reflected heat and wind protection. If you plan to bring them indoors, do it gradually. Move them closer to the house for a few days before bringing them all the way inside to help them adjust to lower light and humidity.

When the chill starts, many gardeners rush to move everything inside at once – but a smooth transition works much better.

👉 Indoor Plants

When bringing plants inside, give them a good rinse to remove dust and bugs, and flush the soil to wash out salts from summer fertilizing. Keep them separate from your houseplants for a week to make sure no pests come along. Expect some leaf drop – it is normal as they adjust to lower light. Give them bright light near a window, and cut watering by about half until spring. Avoid misting too much; good airflow matters more than humidity during winter.

Many tropicals, like hibiscus, brugmansia, and crotons, may look tired for a while, but they will bounce back quickly once days get longer.

👉 Timing Is Everything

The key is to prepare before the first cold warning. Check your weather app regularly once nights start dropping into the 50s. Keep covers, mulch, and supplies ready so you are not running outside at midnight with a flashlight and a frozen hose. Have your frost cloths labeled by plant group and stored in an easy spot. A little organization now saves a lot of stress later.

Many tropicals, like hibiscus, brugmansia, and crotons, may look tired for a while, but they will bounce back quickly once days get longer.

Remember: the goal is to help your plants rest safely. Many gardeners prune or fertilize too late in the season – we will talk about why that can be risky next week."— says Tatiana Anderson, Top Tropicals Plant Expert

Coming next mail-list: The best gadgets for cold protection (lights, heaters, frost covers) and what NOT to do in winter.

📚 Learn more from Top Tropicals Blog:

Cold protection - winter action for your plant collection

What plants are good to order in Winter?

How to take care of house plants in Winter

How to protect tropical plants in Winter

How to take care of a mango tree in winter

How to protect Avocado from cold

Overwintering Adeniums outside of tropics

Rows  of  tropical  plants  in  black  pots  covered  with  frost  cloth  and 
 plastic  sheeting  for  winter  protection  at  Top  Tropicals  nursery.

Protecting Tropical Plants with Frost Covers at Top Tropicals Nursery

Date: 23 Feb 2026

❄️ The Hardiness Report: February 2026 ❄️

🐾 Smokey & Sunshine’s real-world survival data from our Sebring, Florida Research Gardens. Smokey analyzed the data. Sunshine just stayed happy. Here is what they found.

Macadamia  tree  surviving  25F  freeze  as  Smokey  inspects  leaves  and 
 Sunshine  holds  steaming  coffee  in  frosty  garden.
Sunshine: Twenty five degrees. Wind chill fourteen. And it is still standing... like nothing happened?
Smokey: This is macadamia strength.
Sunshine: I should put a macadamia nut in my coffee and borrow some of that strength.
Smokey: Do not get too nutty yet. It still needs curing and cracking.

📊 Weather Data – February 1–6, 2026

Sebring, Florida – 132 years of recorded observations
This was not a light frost. It was a prolonged, windy, penetrating hard freeze.

  • 🌡 Minimum temperature: 25F
  • ❄️ Wind chill: 14F
  • ⏳ Duration: 3 nights of 8–10 hour hard freeze
  • ☀️ Daytime temperatures: around 50F for 7 days
  • 🌀 Wind: sustained 20 mph, gusts 40–50 mph

While all our plants in pots were protected in greenhouses, our in-ground plantings faced the freeze outdoors. We covered what we could. Even so, some plants were damaged, some died, and some surprised us by surviving.

In the next few newsletters, we will share the real survivors - the plants that proved themselves in the ground, under real conditions. Smokey and Sunshine have been out in the fields assessing the damage from the February 1–6 freeze. While many plants struggled, the Macadamia proved to be a true standout. This is how we grow them to handle the tough years.

Why does this matter? Because we have gotten used to warm winters, and this freeze was a rude awakening. Not everyone lives in Miami. If you garden in places where a real cold event can happen, you have to be prepared - and you have to plant what can take it.

🌰 Macadamia: Freeze Tested and Standing

Three  year  old  macadamia  tree  after  three  nights  of  25F  hard  freeze  in 
 February  2026,  showing  healthy  foliage.

3 year old macadamia tree after 3 nights of hard freeze in February 2026 - standing strong.

When temperatures dropped to 25F with wind chill near 14F, our established macadamia trees remained upright, green, and structurally intact. Leaves held. Branches stayed firm. No collapse, no panic.

That is not luck. That is macadamia hardiness.

Often considered a "tropical luxury nut," macadamia proved it can handle more than many gardeners expect. In USDA Zones 9b-11, with proper drainage and site selection, it is not just ornamental - it is a long-term food tree with real resilience.

In a winter that reminded us not to take warmth for granted, macadamia earned its place on the survivor list.

The nut itself is famous for its strength. The shell is among the hardest in the nut world, requiring serious pressure to crack. Inside, the kernel is creamy, buttery, rich, and deeply satisfying. High in monounsaturated fats and naturally low in sugar, macadamias have long been valued both for flavor and for nutrition.

The tree is equally impressive. An evergreen with tough leaves and elegant spring flowers, it matures into a productive, manageable canopy. Nuts develop slowly over six to seven months. Production begins in a few years and increases steadily as the tree matures. Plant it once, and it can reward you for decades.

Macadamia  tree  with  pink  flower  racemes  and  developing  round  green  nuts
   on  branches.

Macadamia flowers and developing nuts on the tree.

Cold will come again. It always does. The question is not whether winter will test your garden. The question is whether your trees are ready. Macadamia proved it is. If you are building a garden that feeds you for decades, this is a tree worth planting.

🛒 Add Macadamia Tree to your garden

Fresh  macadamia  nuts  with  outer  husks  removed  and  hard  brown  shells 
 exposed  in  a  container.

Freshly harvested macadamia nuts with husk removed and hard shells visible.