Whether you're a beginner or an old hand, you'll find that our seed-starting
products make starting seeds and for growing them on, until seedlings are ready
to be transplanted in your garden...
1. Peat pots
 |
The unique property of peat pots is the ease with which plant roots grow right
through the pot walls, permitting replanting without removing the pot. No shock
or setback is suffered, so faster, heavier growth takes place.
The results are: better plants, earlier crops, heavier yields, shorter production
time. Peat pots are inexpensive, and completely biodegradable.
Once soaked, they need less watering and allow excellent root aeration. Molded
from a mixture of 75% sphagnum moss and 25% wood fiber to which soluble fertilizers
have been added.
|
|
- Pack the peat pots firmly with potting mix and arrange 32 of them in one 11
x 20 in (28 x 51 cm) plastic tray.
- Water the peat pots thoroughly until the potting mix and the peat pots are
saturated. Firm the potting mix down again and pour any excess water out of the
tray.
- Place two or three seeds on top of the potting mix in each peat pot and insert
a labeled marker.
- Use forceps or tweezers to push the seeds a quarter-inch deep into the potting
mix (depth may vary if planting other types of seeds - In general, plant seeds
as deep as about 3 times their length.
- Install the clear plastic cover and place the tray on the heating pad set
to medium heat.
|
 |
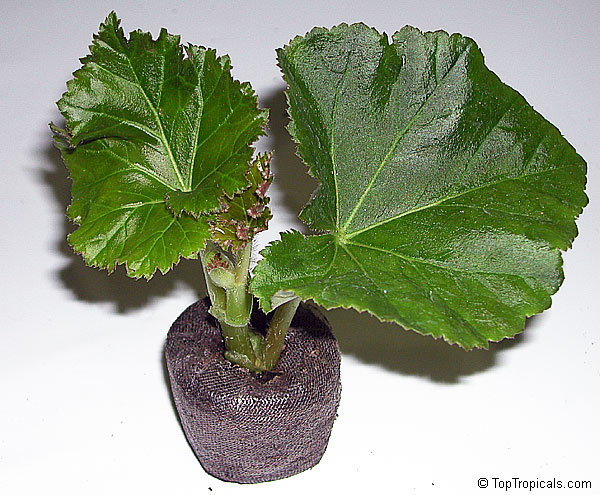
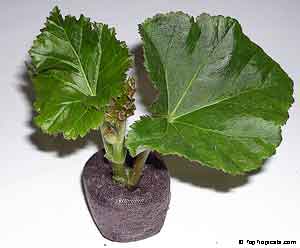
2. Peat pellets
 |
Compressed peat pellet is about 3/8 inches thick and 1-11/16 inches in diameter,
it expands up to 1-11/16 inches wide by 1-11/16 inches tall cylinder when wet.
It is compressed peat. Pellets are encased in thin mesh. This plant starter makes
it easy to start seeds indoors. Just add water and the pellet expands to form
the pot as well as the soil. Drop the seeds into the hole at the top of the pellet.
When the roots grow through the pellet bottom you plant the pellet. Plant the
pellets into the garden or into growing containers.
Planting in Peat Pellets
Peat pellets are compressed peat, a coarse wafer of crushed peat moss with
nutrients added. Some types are enclosed in a mesh that eventually disintegrates.
When water is added, the pellets swell into small cylinders of peat about 2 inches
across and seven times the original height. The following steps outline the procedures
for starting seeds in peat pellets.
|
- To prepare the pellets for planting, arrange them side by side in a shallow
pan. Add enough warm water to cover the pellets, add more water as needed until
they are fully expanded.
- When the pellets have reached their full size, use a needle/pencil point to
make one to three shallow planting holes in the top of each pellet (one when the
seed is large, three when using smaller seeds), spaced as far apart as possible.
Plant the seeds into the holes about 1/4 inch, then press lightly with your thumb
to cover the holes. Label each pellet.
- Cover the containers with plastic. Keep the pellets in a well-lighted area
but out of direct sunlight. As soon as the seeds germinate, poke holes in the
plastic tent to increase ventilation and prevent overheating.
- When the pellets begin to turn a lighter brown and dry out, add warm water
to the container. Remember that at this stage they have to stay moist but not
soaking wet. After germination, reduce watering slightly, but do not let the seedlings
dry out.
- When the seedlings show their second set of right leaves, remove the plastic
and reduce watering. Place the containers in a south-facing window where they
receive at least six hours of direct sunlight a day. At this stage best temperatures
for the seedlings are 60 to 70 degrees during the day, to about 10 degrees at
night. Turn the container daily to keep the stems growing straight. Plants are
heliotropic, which means they turn toward the light.
- As the seedlings begin to crowd each other, use scissors to thin them to one
per pot, snipping off the weak ones. Don't pull out the extras; you may unintentionally
pull up the one you want to keep, because the roots are tangled.
- Three to four weeks after the seeds have germinated, begin applying diluted
liquid fertilizer.
- When the roots begin to grow through the bottoms of the pots, it's time to
transfer them into the garden.
|

|