🌞 Spring Nutrition Strategy: How to
Identify
and Fix Plant Nutrient Starvation
Sunshine: Smokey, I knew from the start you would win. You used
Sunshine Boosters and Green Magic. They are named after me, so I had insider
knowledge. But my organic program is still
good.
Smokey: Yes, it is good. However, it managed to grow your waistline,
not the mango. Starting tomorrow, you begin exercising.
Sunshine: Exercising? Like running?
Smokey: No. Pulling weeds.
Read more about Smokey
& Sunshine
🌱 The Spring Fertilizer Rush
It's the middle of March. The weather warms up, plants wake up, and
gardeners rush to Home Depot to buy fertilizer.
We see this every spring: one big feeding, then weeks or months of
nothing.
Tatiana Anderson, horticultural expert from Top Tropicals, reminds
gardeners that plants do not eat that way. They grow best when nutrients
arrive
little by little, not in one giant spring dump. That idea is the science
behind
Green Magic controlled-release fertilizer usage.
🎢 The Fertilizer Roller Coaster
After that big spring feeding, plants usually respond quickly. Leaves turn
greener, growth speeds up, everything looks great.
But a few weeks later something strange happens. Growth slows down. Leaves
lose color. The plant looks hungry again.
So gardeners fertilize again.
This cycle of nutrient spikes followed by starvation is
very common with traditional fertilizers.
Plants do not like roller coasters. They grow best with steady
nutrition.
🚽 Where Traditional Fertilizers Go
Traditional fertilizers are usually made from soluble nutrient salts. When
you water the soil or when it rains, part of those nutrients dissolve and
become available to plants.
But plants cannot absorb everything at once. The unused portion continues
moving with water through the soil.
In gardens and container plantings, that excess often travels through
drainage and eventually reaches nearby canals, lakes, or rivers causing
algae
growth.
These dissolved salts are also the reason gardeners sometimes see what is
called "fertilizer burn". When too many salts accumulate
around the
roots, they can pull water out of plant tissues and damage sensitive roots
and
leaf edges.
It is also important to understand that traditional fertilizers are not
the same as slow-release fertilizers. Traditional fertilizers dissolve
quickly, while slow or controlled-release fertilizers are designed to
release
nutrients gradually over time.
This is why large fertilizer applications often lead to two problems: a
short nutrient spike for plants and nutrient pollution.
⏳ The Idea Behind Slow Release
Gardeners and scientists recognized this problem a long time ago. If
nutrients dissolve too quickly, plants receive a spike and the rest is
washed away
before roots can use it.
The obvious solution was to slow things down.
Instead of dumping nutrients all at once, slow-release fertilizers were
developed to feed plants gradually over time.
The goal is simple: keep nutrients in the soil longer and deliver them to
plants little by little, closer to the way plants actually
grow.
⚖️ Slow Release vs Controlled Release
Not all gradual fertilizers work the same way. There is an important
difference between slow-release and controlled-release
fertilizers.
Slow-release fertilizers rely on natural processes such as
moisture, temperature changes, soil microbes, or simple coatings that slowly
break down. The release rate can vary depending on weather, soil conditions,
and watering.
Controlled-release fertilizers use engineered coatings
that regulate how nutrients leave the fertilizer granule. The coating acts
like
a membrane, allowing nutrients to move out gradually in a more predictable
way.
In simple terms, slow-release fertilizers slow things down, while
controlled-release fertilizers are designed to control how
nutrients
are delivered over time.
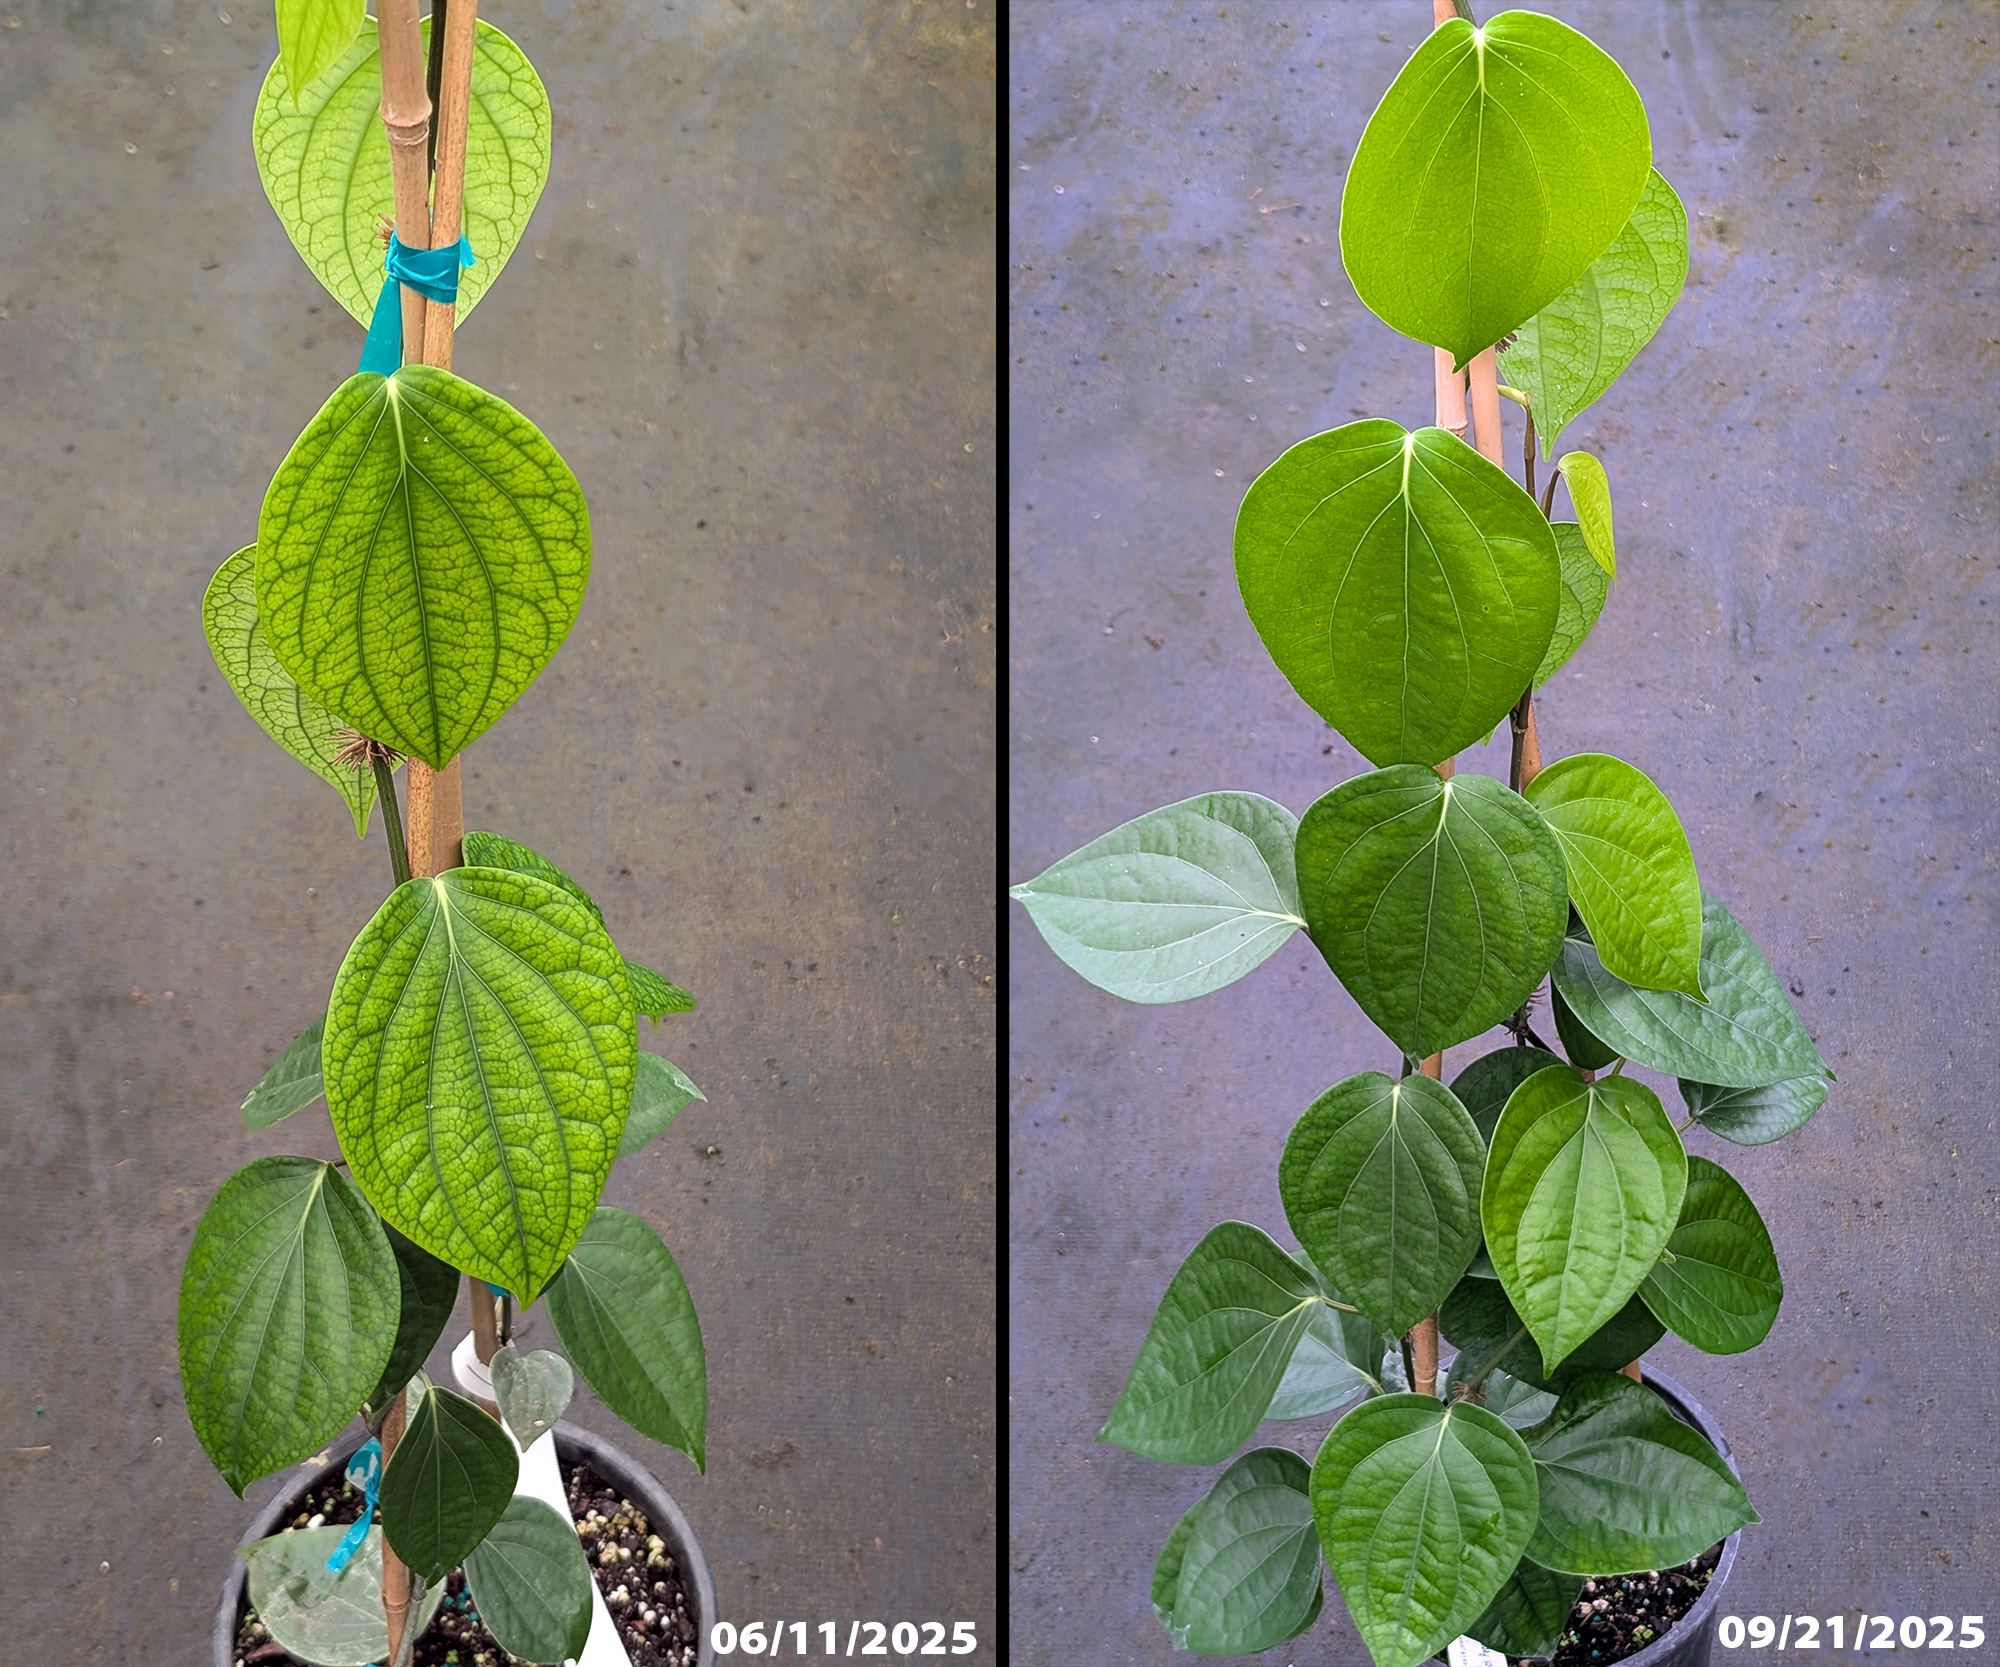
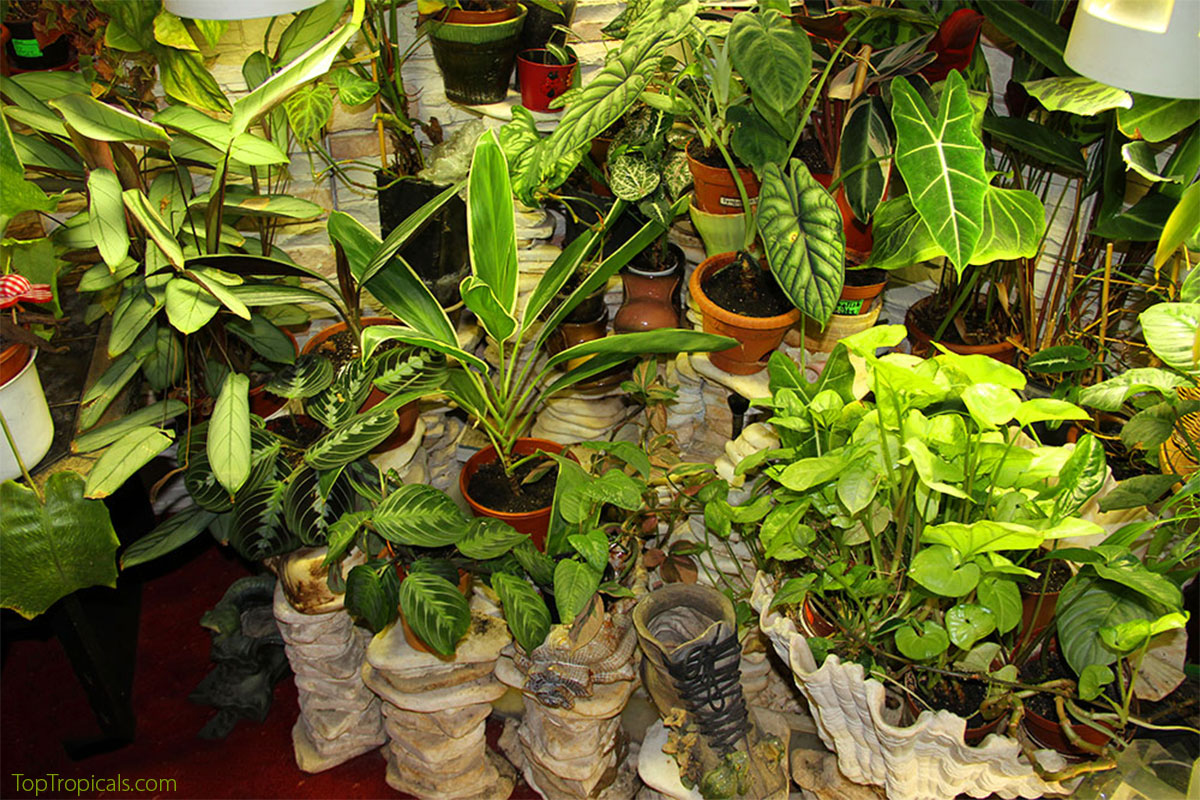
Black Pepper
(Piper nigrum): nutrient deficiency corrected with
Green Magic fertilizer.
🌡️ The 75°F Trap
Most controlled or slow-release fertilizers are tested under laboratory
conditions where soil temperature is around 75°F.
But in real gardens, especially in warm climates, soil temperatures can be
much higher. Container soil in full sun can easily reach 90°F
or
more.
Higher temperature speeds up chemical and biological processes, including
nutrient release from fertilizer coatings.
As a result, a fertilizer labeled 6-month release at
75°F may actually finish releasing nutrients in about
3
months in hot soil.
That means plants receive nutrients too quickly early in the season and
then may run short of food later, right when growth is strongest.
At 90°F and above, the issue is not only faster
feeding. The fertilizer coating can release nutrients so quickly that the
soil
solution becomes highly concentrated with dissolved salts. In containers
especially, this sudden surge of salts can pull water away from the roots
through
osmotic pressure, effectively dehydrating the roots at the
exact moment when the plant needs water most. Instead of steady nutrition,
the
plant experiences a brief nutrient spike followed by stress.
⚙️ Why Release Mechanisms Matter
Different fertilizers use different coating technologies. Some rely on
simple coatings that release nutrients mainly in response to
moisture. When it rains or the soil stays wet, nutrients are
released faster.
When the soil dries, release slows down. This moisture-driven mechanism can
be
unpredictable because it depends heavily on rainfall and watering patterns.
More advanced fertilizers use membranes designed to regulate nutrient
movement based primarily on temperature. Because plant
metabolism
is closely tied to temperature, this creates a much more scientific
and predictable feeding process. As temperatures rise and plants
grow faster, nutrients are released more actively. When temperatures drop
and
plant activity slows, the release rate also slows.
This scientific, temperature-based mechanism helps deliver nutrients
gradually and predictably, reducing the large spikes and
sudden
shortages that often occur with simpler fertilizer coatings.
Controlled Release Technology
Modern controlled-release fertilizers use polymer coatings that act like a
thin membrane around each granule. Water enters the granule, nutrients
dissolve inside, and then slowly move through the coating into the soil.
The speed of this process is influenced mainly by soil
temperature, which generally follows the plant's natural growth
rate.
Polyon coating technology is known for its very consistent
polymer layer, which helps deliver nutrients more evenly from granule to
granule. This consistency is one reason controlled-release fertilizers are
widely used in professional nurseries and container plant production.
Green Magic fertilizer uses advanced Polyon controlled-release
technology to provide steady background nutrition for plants
without the
large nutrient spikes common with traditional fertilizers.
⚠️ The Calcium Gap
One nutrient that is often missing from many controlled-release fertilizers
is Calcium. Calcium is essential for plant cell structure.
It strengthens cell walls and supports healthy development of new leaves,
roots, and fruit. In many ways, its role is similar to how calcium supports
bone
structure in the human body.
Unlike many other nutrients, Calcium is not mobile inside
plants. The plant cannot move it from older leaves to support new
growth.
This is why calcium deficiency usually appears first in the newest
leaves and growing tips. When plants lack calcium, new growth may
become
distorted, weak, or fail to develop properly because the cells cannot form
strong walls.
Another important detail is that Calcium is not mobile inside
plants. Once it becomes part of plant tissue it cannot move to new
growth, which is why fresh leaves are the first to show deficiency symptoms.
No matter how much NPK fertilizer is added, plants cannot
grow properly without enough Calcium because new cells simply cannot build
their structure.
Calcium is difficult to include inside polymer-coated fertilizer granules
because many calcium salts are highly soluble and can interfere with the
stability of the coating.
For this reason most controlled-release fertilizers focus on delivering
nitrogen, phosphorus, and potassium, while assuming that Calcium will come
from
irrigation water or soil amendments such as gypsum.
Garden advice often recommends bone meal as a Calcium
source. While bone meal does contain Calcium, it releases very slowly and
depends
on soil biology and acidity, so it may take months before plants can
actually use it.
A more reliable Calcium source for many growers is gypsum,
which supplies Calcium. However, adding it to container mixes is risky
because the correct amount is difficult to control.
The most reliable way to supply Calcium is simple: use Sunshine
Boosters. These liquid fertilizers deliver readily available
Calcium
directly to plants in soil and in containers, supporting strong new growth
and
preventing the hidden deficiencies that often limit plant development. We
explained this approach in detail in our previous newsletter.
The Two-Layer Feeding System
Professional growers rarely rely on a single fertilizer. The most stable
approach is combining controlled-release nutrition with
targeted liquid feeding.
Green Magic provides steady background nutrition through
Polyon controlled-release technology, supplying nitrogen, phosphorus,
potassium, and essential microelements gradually over time.
Sunshine Boosters complement this base feeding by
delivering Calcium and additional micronutrients in a form plants can absorb
quickly
when growth is most active.
Together they create a balanced system: Green Magic feeds plants
continuously, while Sunshine Boosters provide the nutrients that
controlled-release fertilizers cannot easily deliver.
Green Magic builds the foundation, Sunshine Boosters power the
growth.
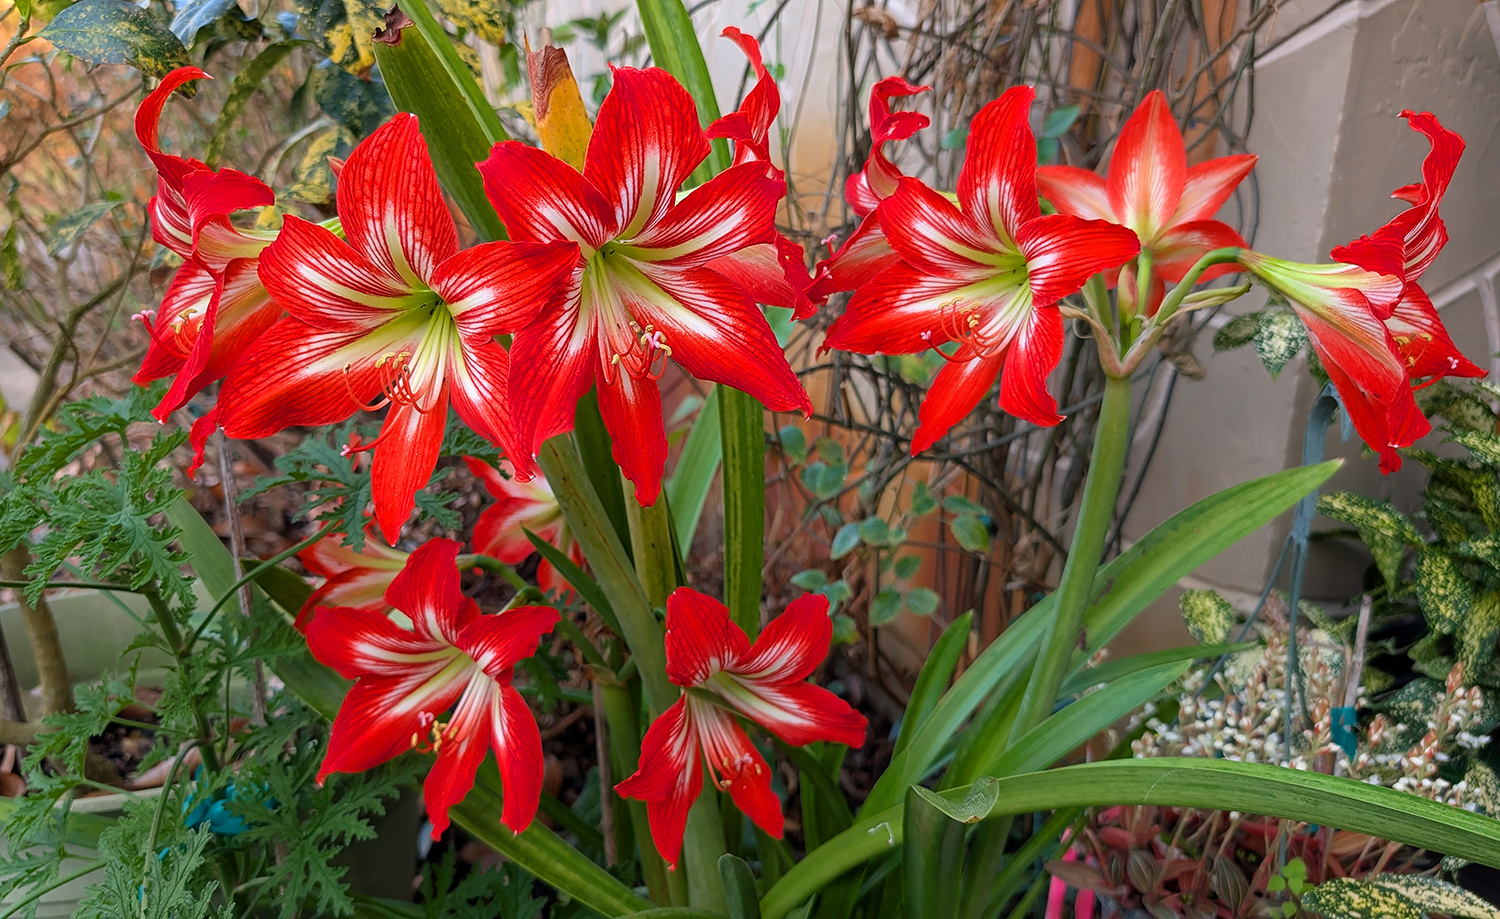
Amaryllis 'Minerva' flowering profusely after feeding with Green Magic and
SUNSHINE Megaflor bloom booster.
🛒 Feed your plants


 Mango Practical Growing Tips (Keep It
Simple)
Mango Practical Growing Tips (Keep It
Simple)
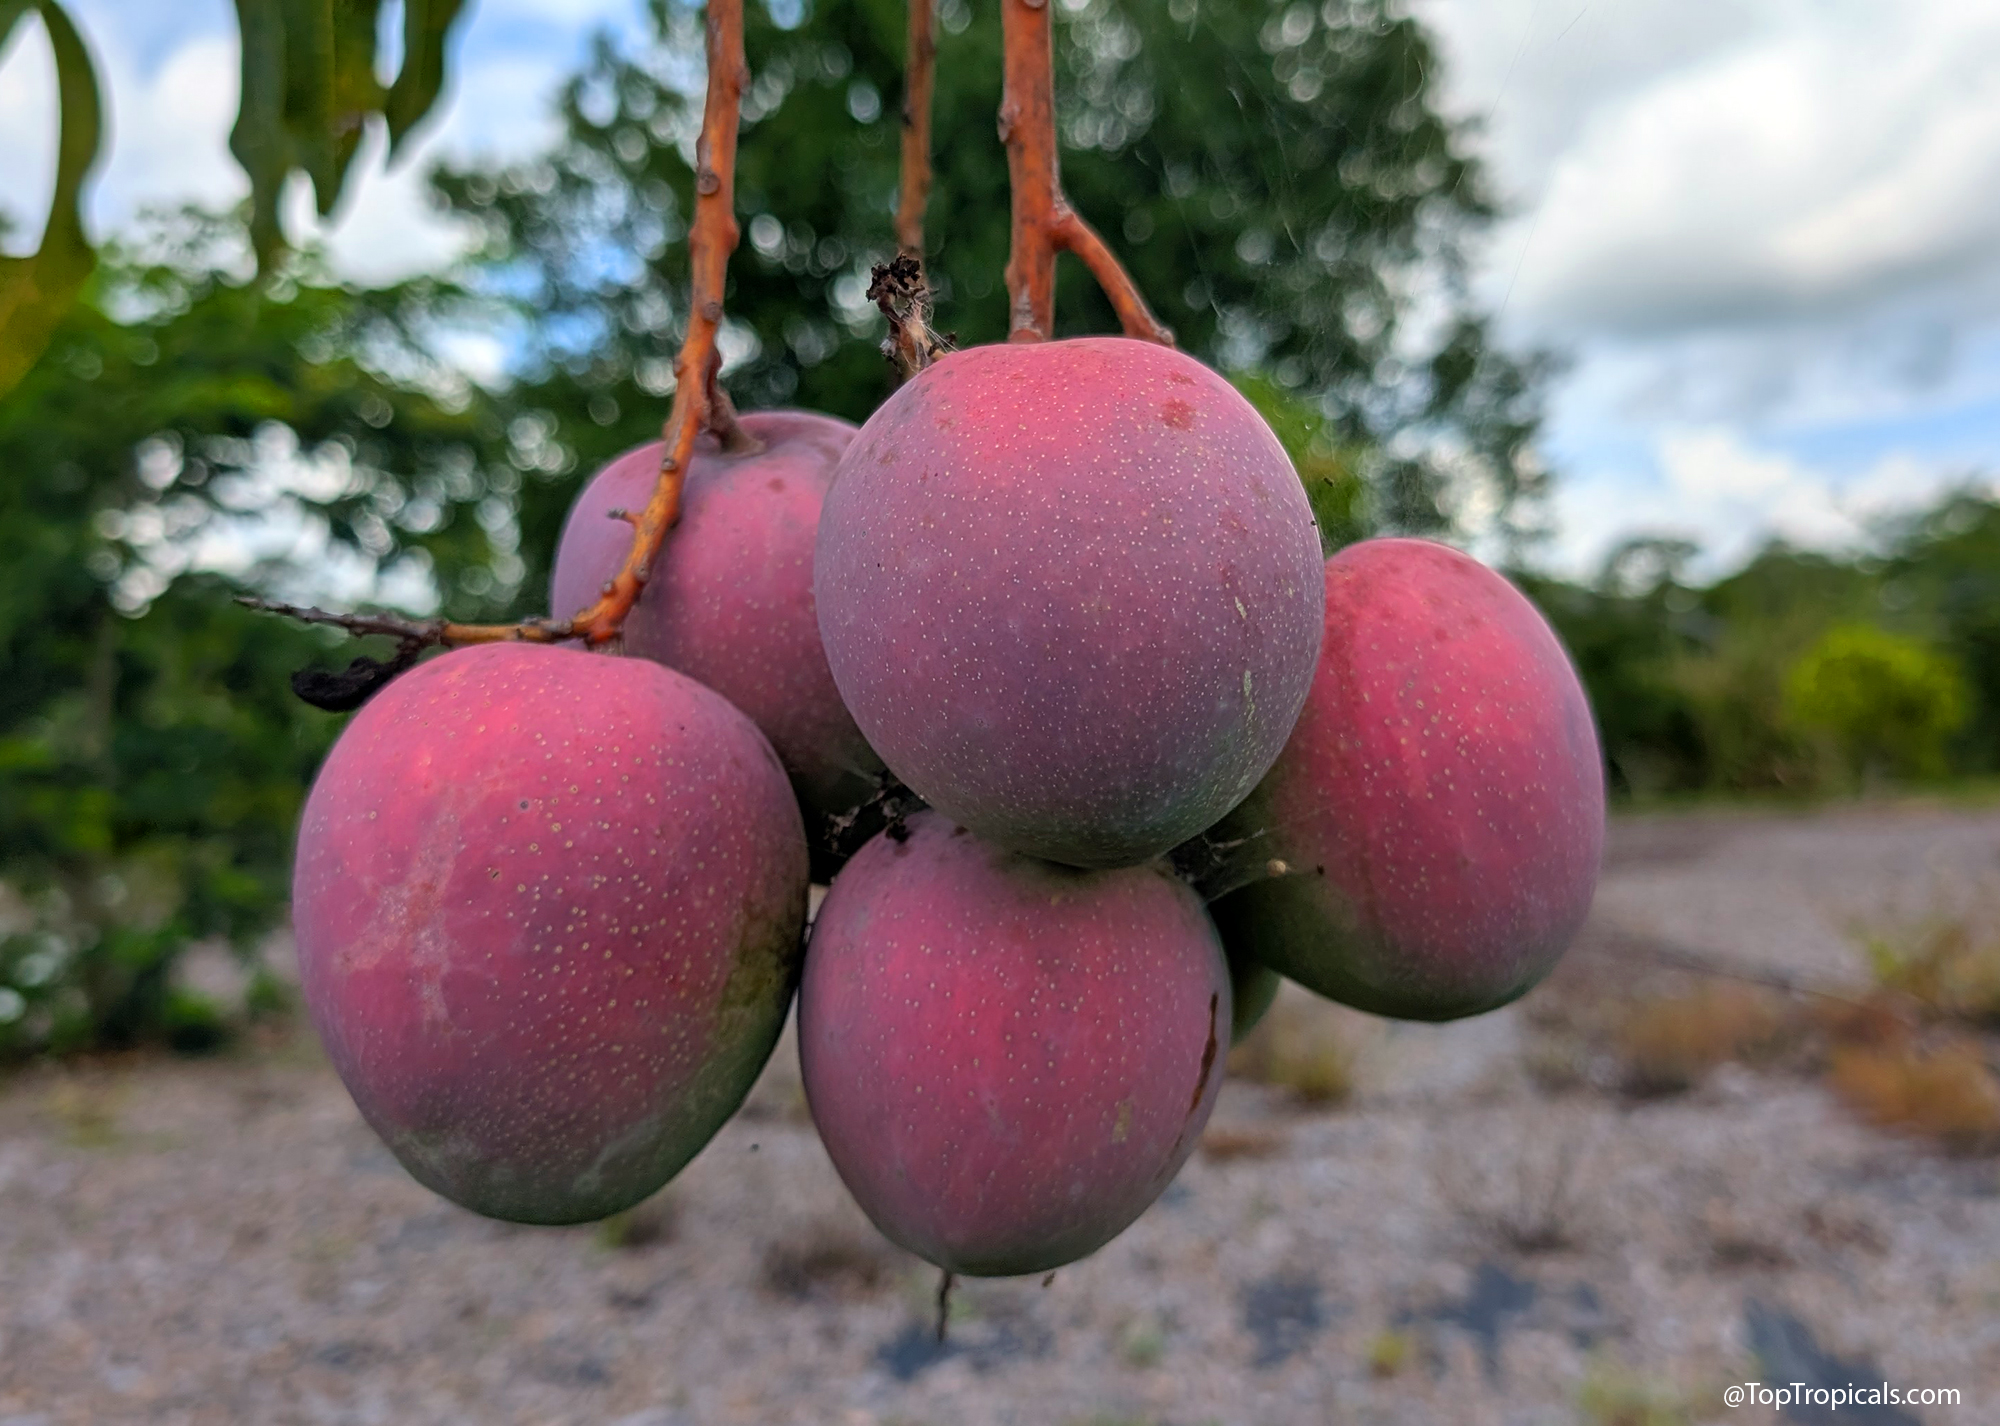
 Mango Winter Care (Very Important)
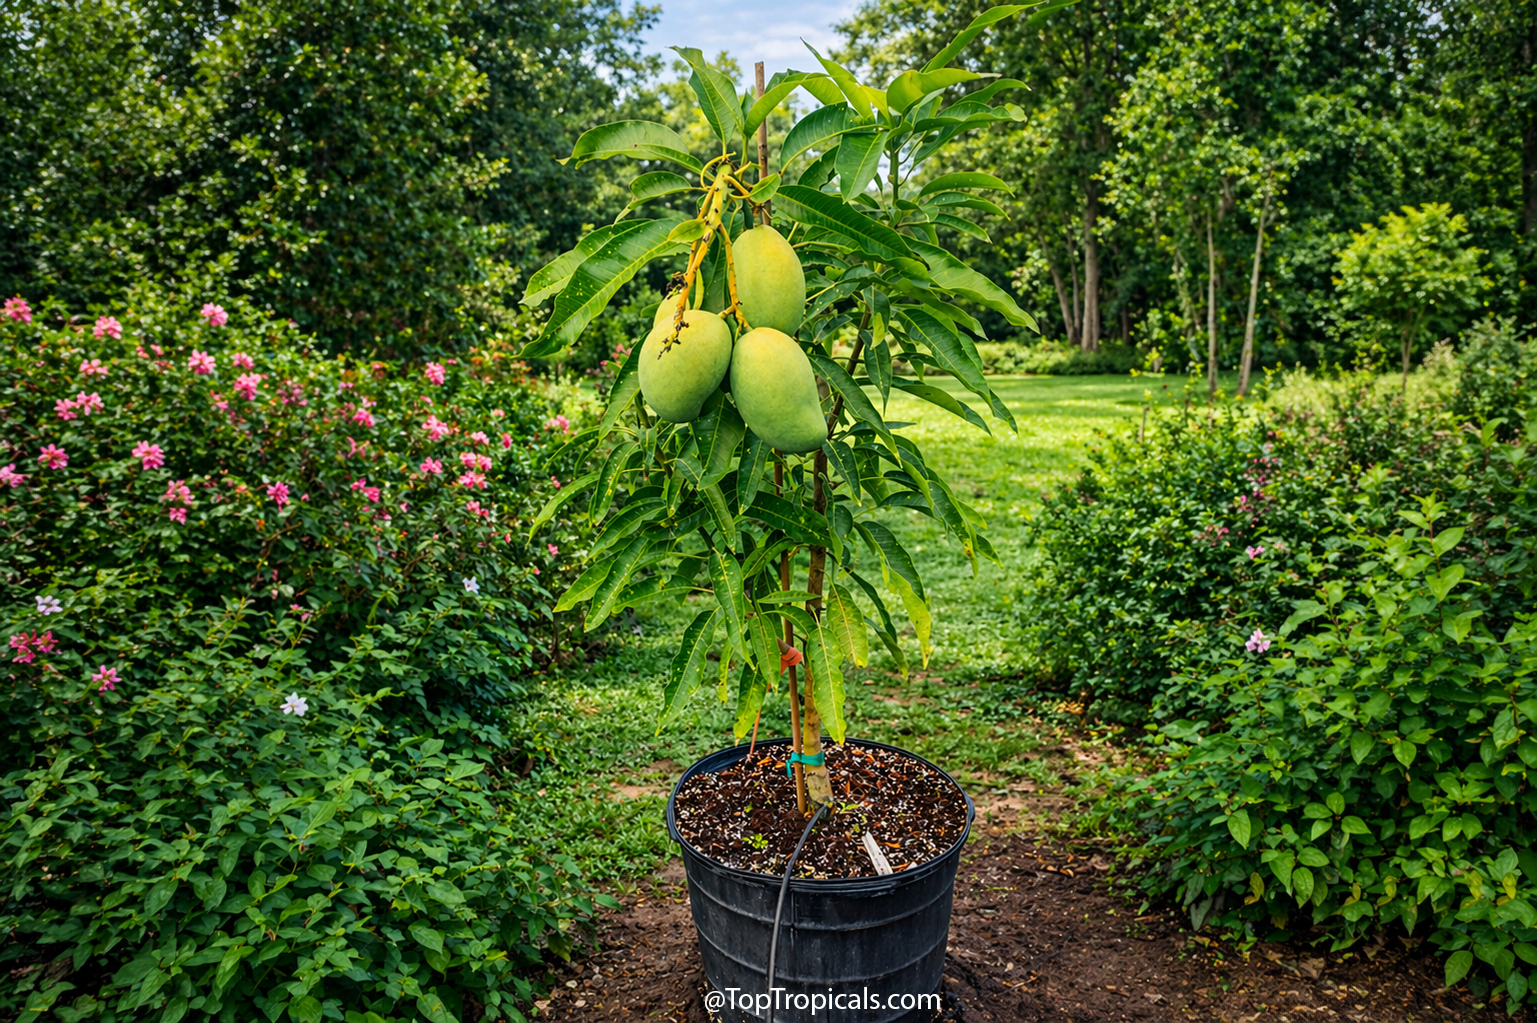
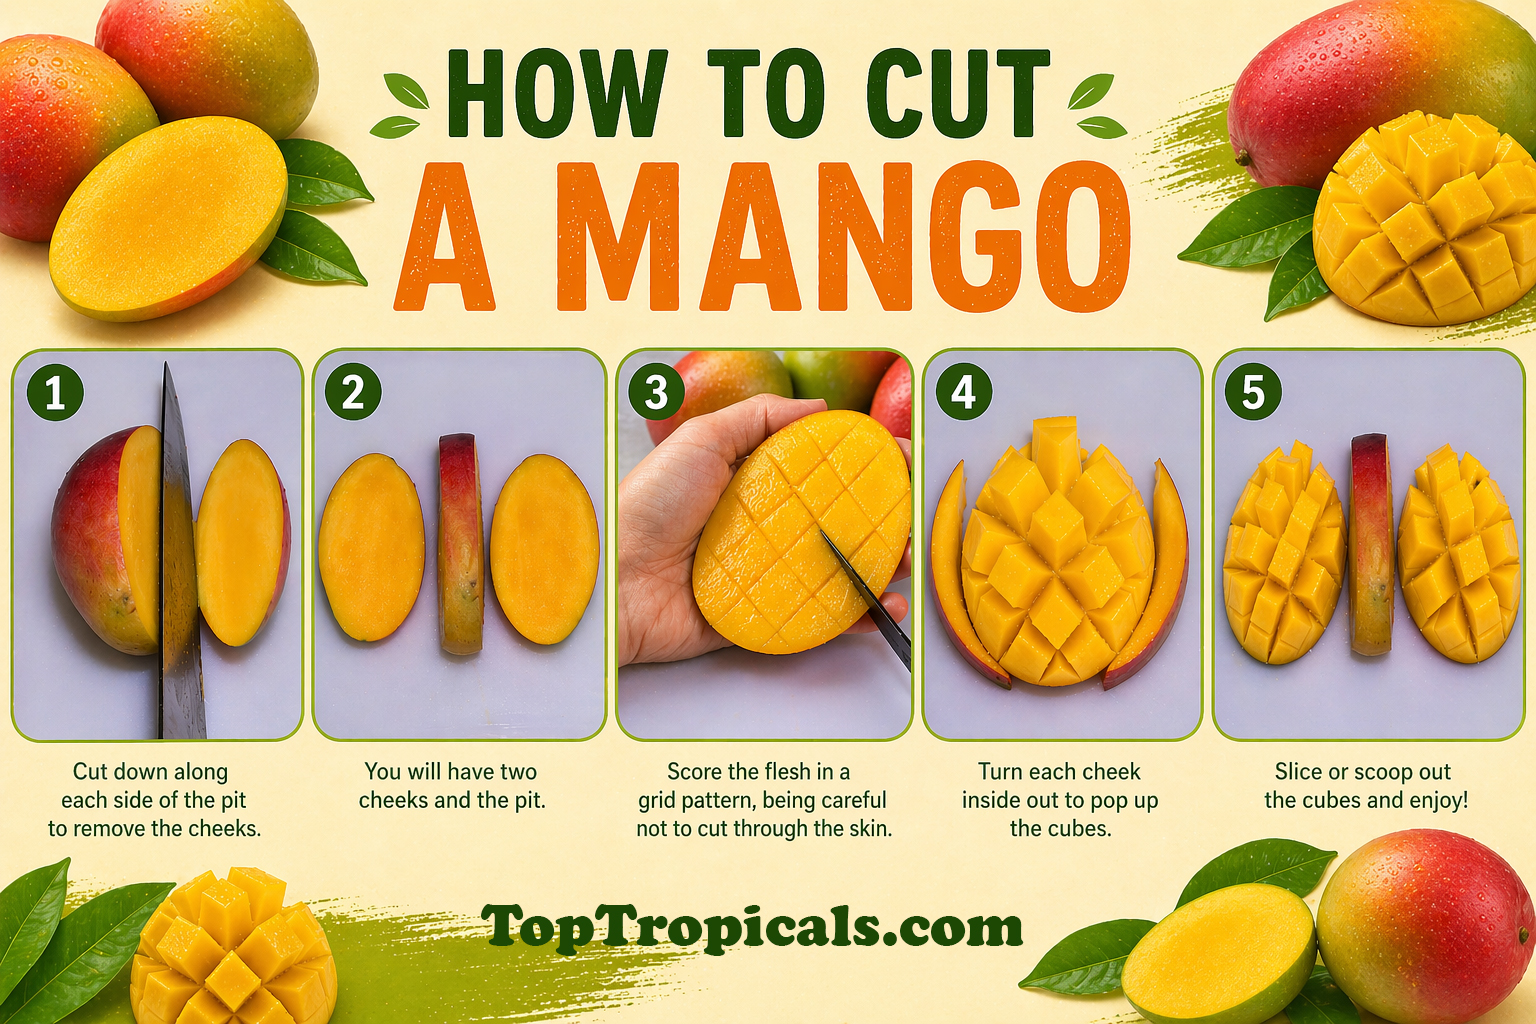
 Taste the Mango Difference - Save 10%