Seeds of Tropical Plants
Seeds: general information || Germination instructions || Germination time || Order seeds
Download seed germination instructions (.PDF, 50Kb)
GENERAL INFO
GROWING PALMS FROM SEEDS
TROPICAL BULBS
1. GERMINATION
We recommend to use Cirkon and Epin natural hormones to improve seed germination!
 |
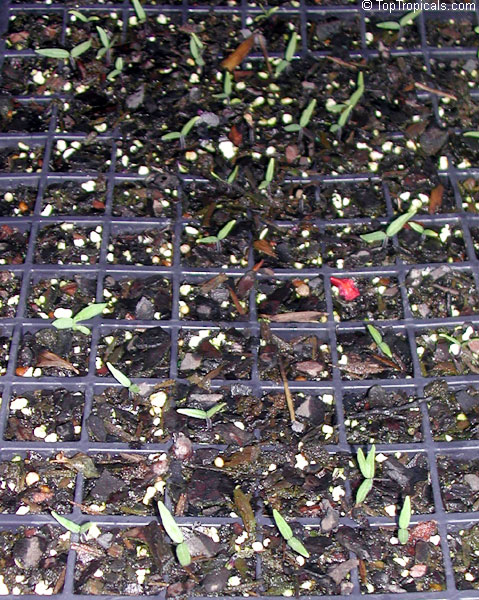
Seeds need water and oxygen to germinate, so are best started in a light,
loose soil that will not compact, get soggy, or crust over. Free flow
of water & air are a must. Large seed can be soaked overnight and planted singly. Barely cover small seed, and sprinkle fine seed on the surface and water by misting. Lightly tamp soil to insure good contact with the seed, unless heavy. Keep soil moist, not soggy, and do not allow to dry out. |
 |
|
|
Scarification It can be even necessary to nick the coat (outer shell of the seeds) with a file or to use sandpaper. Sometimes the coat need to be cracked or cut in order to let water in and so enable the embryo to break through the coat. All this is not to say that the seeds will not germinate if these measurements are not taken; it will only take longer. So it is clear that these extreme hard seeds have a long shelf life! |
 |
 |
Temperature These are tropical seeds we are talking about and they need tropical
conditions to germinate! |
|
|
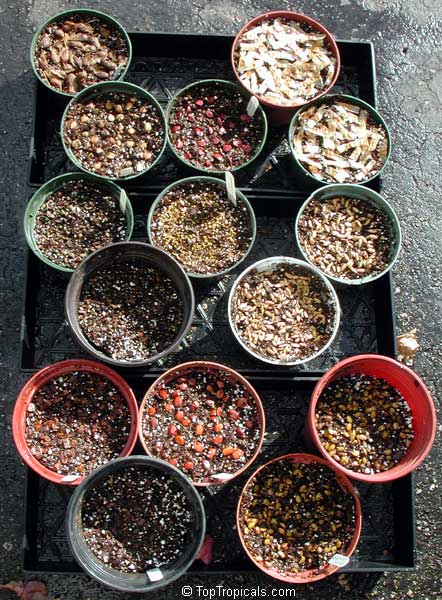
Soil The best thing to use is soilless seed starting mixture; they have
the best pH, retain water, have good air penetration and are sterile
so that the possibility of attracting fungi is minimized. |
 |
 |
Light If you try to germinate seeds indoors, the use of grow lights can be
of tremendous help; start positioning these low (8" above the top
layer) and when growing occurs raise the lights accordingly. |
 |
|
|
Time until germination Average range of time to germinate is usually given in weeks. A seed that takes 2 - 3 weeks will usually come up fairly evenly; one that takes 1 - 12 weeks will tend to straggle in irregularly. Time varies with temperature, so expect considerable variation. Don't give up too soon- many who have given up and sown another seed in the pot end up with two types of plants in the same pot! |
 |

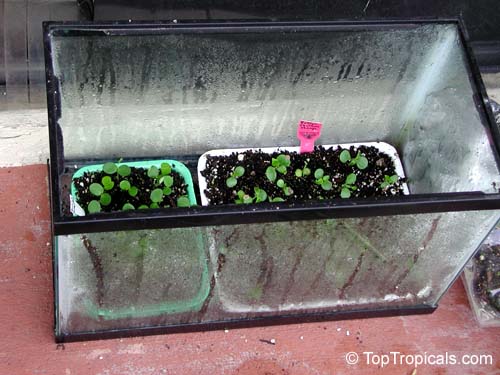 |
Plastic bag method Best for very slow to germinate seeds, very tiny dust-like seeds that can't be allowed to dry out, and very slow-growing seedlings. Small clean pots are filled with damp, sterile, soilless mix. Milled sphagnum or a light dusting with powdered charcoal discourage fungi & algae. Seeds are sown and the whole pot is sealed in a plastic bag and placed out of direct sunlight. This creates a mini greenhouse and the soil will not dry out and the seeds are protected from mice, etc. Pots can be left for years with no care other than regular checking for seedlings. As soon as seedlings appear, begin hardening off. Bagged pots may be kept under fluorescent lights without overheating. |
 |
 |
Paper towel method You can germinate seeds in a paper towel. This method is tricky; it's easy to ruin roots if they dry out, or are planted too late after germinating. Paper towels dry out REAL FAST! Place paper towel in a bowl, saturated with weak nutrient solution (not too much!), and cover with plastic wrap to keep it from drying out. Put bowl in a warm area; top of the gas stove, water heater closet, or above warm lamps. Cover with black paper to keep out light. Check every 12 hours and plant germinated seeds with the grow tip up (if possible) in a growing medium as soon as the root coming out of the seed is 1/16" or longer. Use tweezers, and don't touch the root tip.
|
 |
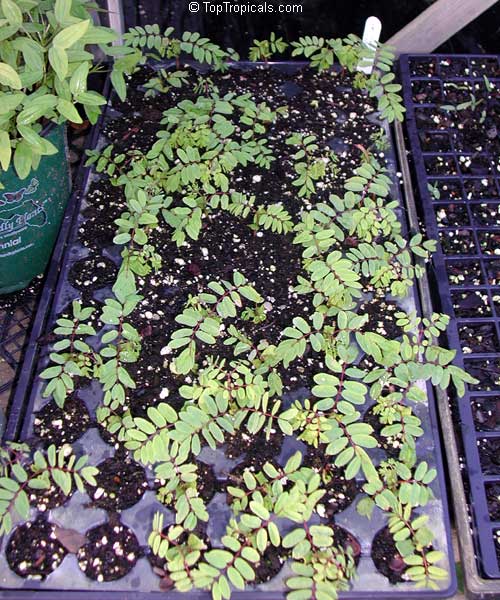
If you are sowing seeds in furrows or flats, transplant individual seedlings into cell packs when the first true leaves appear or when they are large enough to handle Seedlings started indoors should be fertilized regularly with a dilute (1/4 strength) water soluble fertilizer. This will help to produce stockier transplants provided enough light is available. | 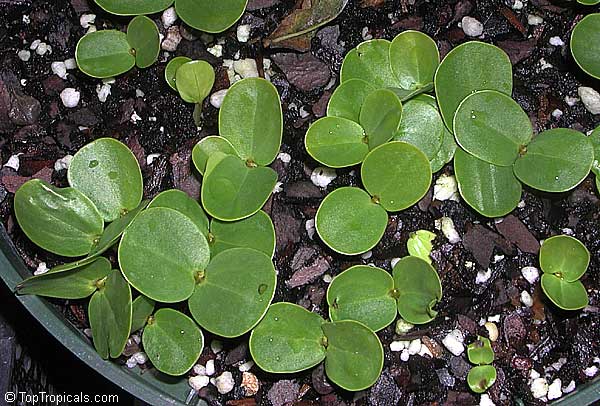 |
 |
Before planting in the garden, gradually acclimate transplants to the outdoors. Start by putting them outside on cloudy days or in a shaded location then after a few days work them into more light and exposure. Overcast skies or late afternoon is the best time to plant in the garden. Water immediately after transplanting. If plants wilt, provide some protection with an open milk carton or a board for a few days. Don't forget to label!
|
A note about seed germination
Most species of seeds have hard casings to protect the seed "embryo".
For most of these "hard" seeds, the outer shell must be scarred,
scratched or softened in some way. Some species take up to a year to germinate
and will need help in the beginning to get the shell softened. Most varieties
of slow germinating seeds will turn black and rot if
there is not sufficient heat in the soil (75 to 90 degrees F for most species)
or if the soil dries out or is allowed to remain too wet, which will encourage
the growth of one or another of the varieties of fungus or mold. It is important
to speed up germination and to get the plants growing as soon as possible
in order to avoid potential problems.
Anyone who has soaked dried beans before cooking is familiar with the process
of softening up the shell. When the outer shell is softened it allows the
contents to expand. Potassium Nitrate (Saltpeter) can help in softening up
these outer shells. It is available in many drug stores. Soak the seeds in
a solution of one teaspoon of the saltpeter to
one quart of warm water for at least 24 hours. Do not allow the seeds to dry
out but sow them immediately using the remaining solution to water the soil
or other growing medium. Soak several species of seeds at once in smaller
containers of the same solution and have the containers of growing medium
or soil ready for planting as soon as the soaking period is complete.
|
Ripe seeds |
Growing a palm from seed is fairly easy. This is how all of the palm trees are grown, except for those that you can multiply by division. Growing a palm from seed is exiting but patience testing process. The sizes of palm seeds vary from gigantic (coconut) to size of a match head (Washingtonia palm). |

Important tips for successful palm growing
|
Freshness Palm seeds must be fresh. In tropical forest the seeds start growing almost immediately due to the humidity level. Desert palms can keep freshness for years. Washingtonia seeds can stay fresh for 10 years. Ripeness Palm seed is a fruit with a hard pit. Even if you can't see the flesh, it is always there. The color of the soft shell helps you to determine the ripeness of the seed. Mature seeds should be either red or brown-yellow, or black but not green. The seed is located in a pit. It is supposed to be hard and whitish color. If the core is soft and deforms easily then the seeds aren't mature yet.
|
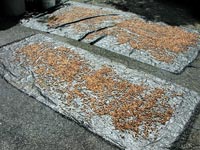
Drying seeds after collecting - about 75 000 seeds here! |
|
Cleaning the fruit Outside soft shell, covering the pit, can contain a special component, which is getting in the way of growth (so the plant starts growing after the seed has been eaten by a bird or an animal, the shell is digested and the seed is carried away to a new location where it will grow). Most of the seeds are already cleaned and are ready for planting. But if there is still some dry skin on the seed, you should take it off before planting, otherwise the seed may rot. In order to take the skin off you should soak the seeds in water for 1-3 days, changing the water daily. When fruit skin is softened, scrub the skin of the seed with a knife. Don't worry about the pit -its outer shell is very hard and your actions won't hurt it a bit. |
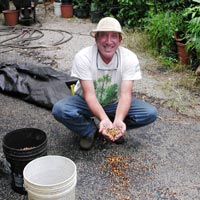
Murray
Corman |
Growing from seeds
|
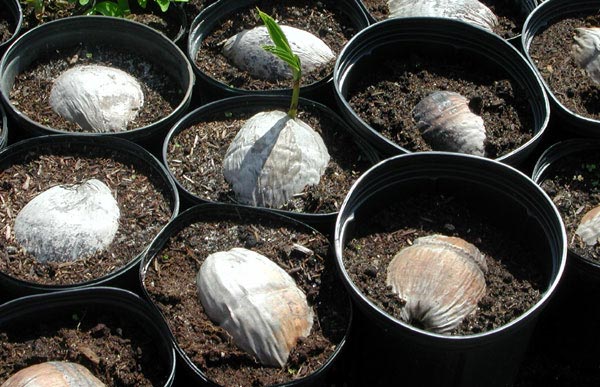
Cocos
nucufera |
After cleaning, seeds should be soaked for another 1-2 days, and don't forget to change water daily. There are two ways to grow palms from seeds. 1. Growing the seeds in a container. This method is commonly used by industrial growers. Use this method for big quantities. The container should be placed into a greenhouse. This method is good for observing. Advantages - easy to observe how the plant grows, vertical growth
of the plant, good air circulation, ability to add fertilizer. |

|
2. Growing in a bag. This method is better for a home growing. Place the seeds in a plastic bag with a moist peat moss (or even better coconut fiber), then place the bag in a warm place. The peat moss should be wet enough so you can squeeze just 2-3 drops of water. Don't overwater otherwise fungus may occur. Advantages - easier to maintain high humidity, inexpensive,
easy, saves space, the bag is movable. |
|
|
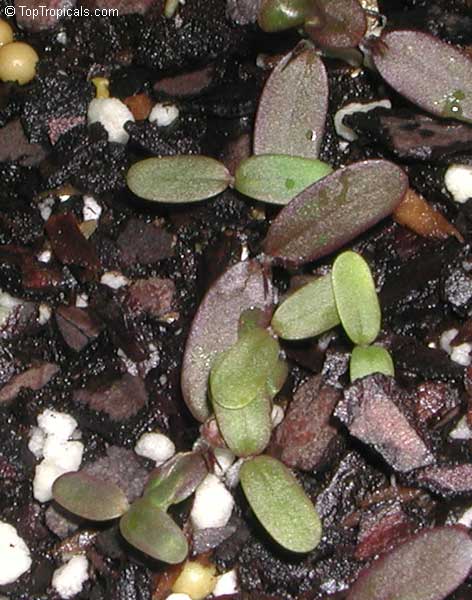
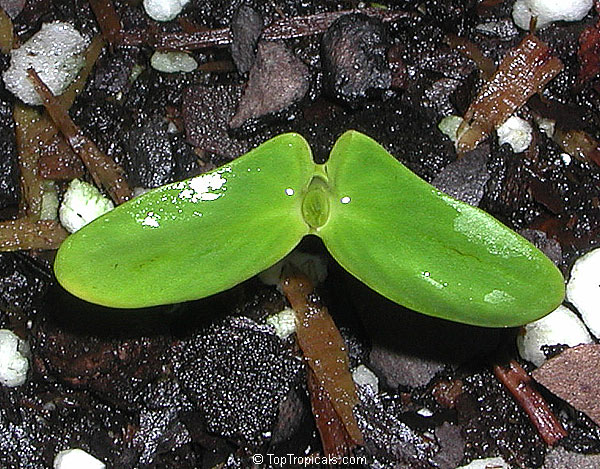
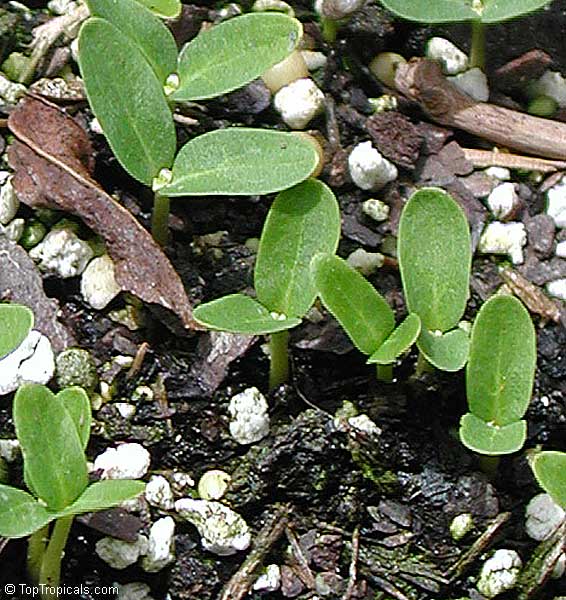
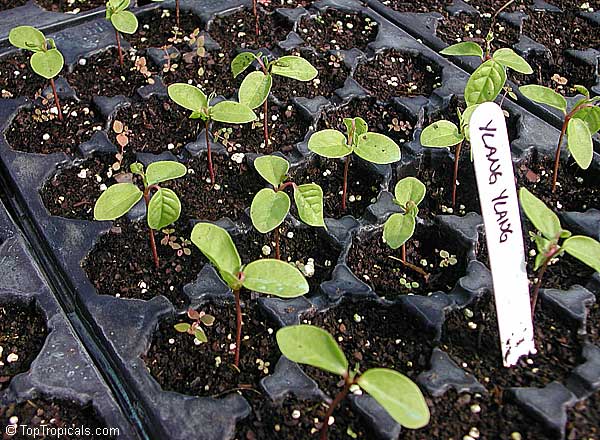
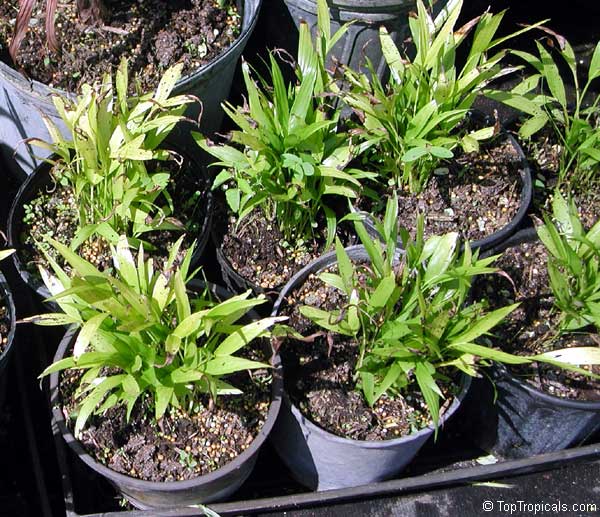
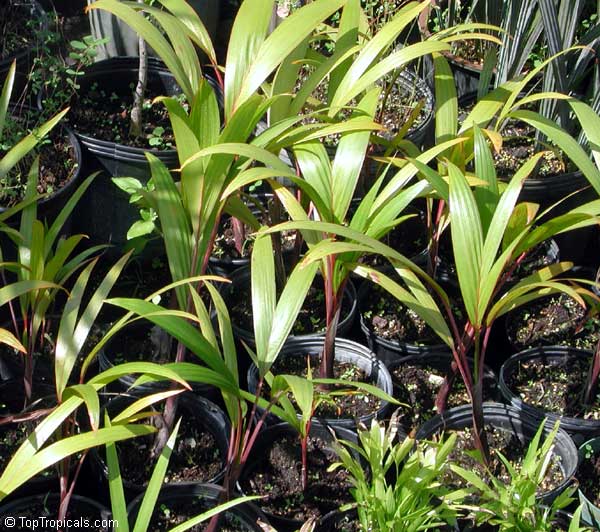
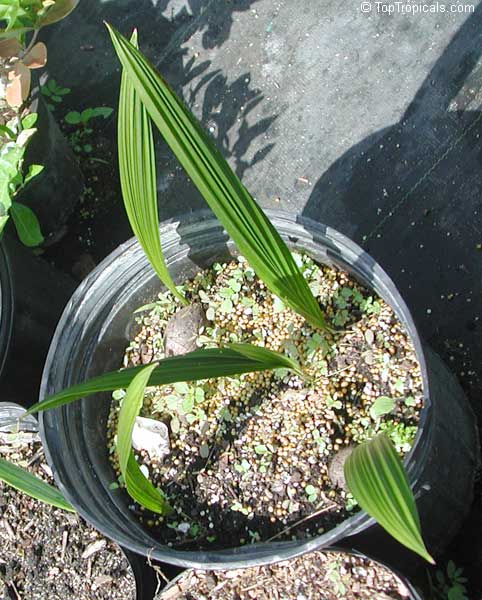
young seedlings look alike...
|
Tropical palms need additional warmth for successful growing: so you need to maintain the temperature of about 86-95F. If you raise the temperature, you may "cook" the seeds, but lower temperature will make germination slow down if ever at all. You may use a heating pad to warm up the bag with seeds. Some seeds with hard shell should be scarificated. |

|
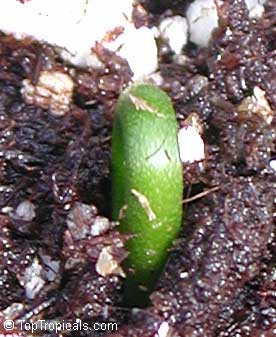
First sprouts If everything was done properly, the sprouts may come up in few weeks. To be exact, it depends on the size of the seed and growing conditions, the time may vary from 2 weeks to a month. Don't forget to mark the bag with a date when you plant the seeds and the type of seeds. |
|
|
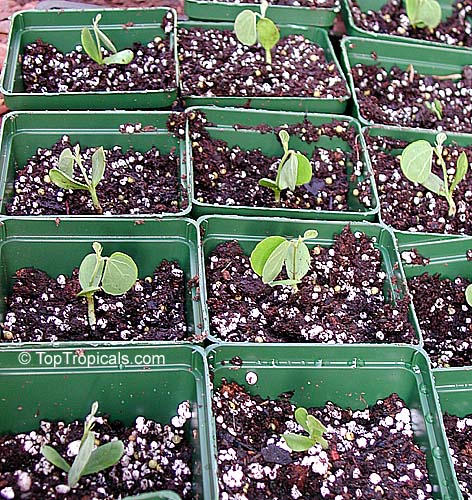
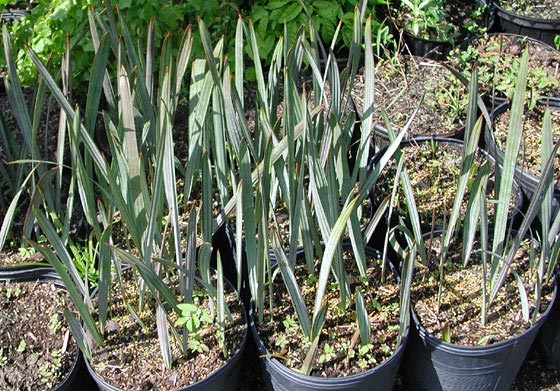
Seedlings Finally the sprouts come up. If they are in a bag, you need to take
them out of the bag when they get about 1 inch. Try not to disturb the
root because it is still very fragile. Plant the seedling in a deep
pot, so that the seed is a little bit under soil level, but the upper
sprout stands upright. Of course the soil should be very well-drained.
|
|
|
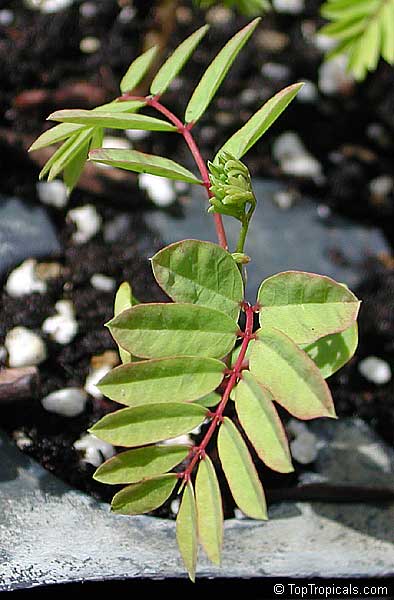
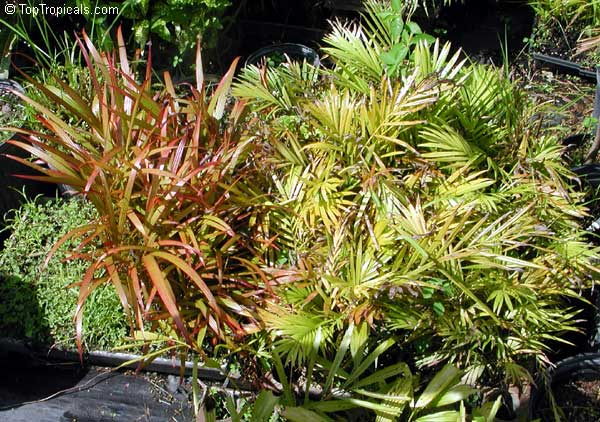
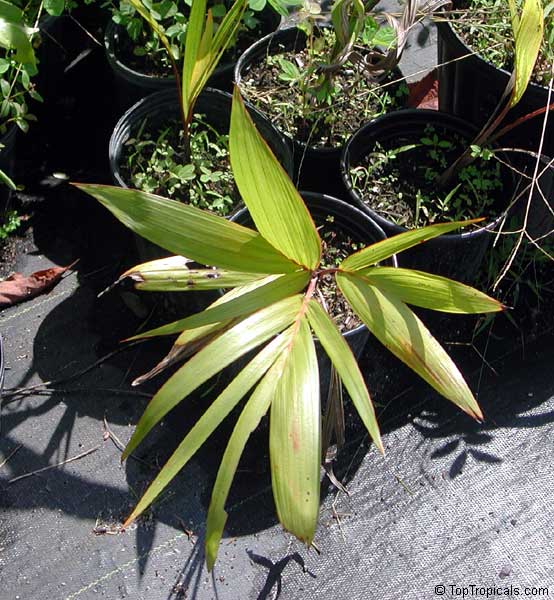
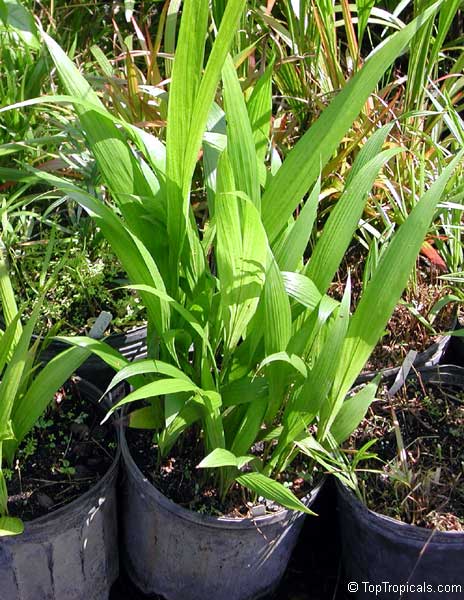
Growing At first the seedlings grow fairly slow, but with time the growth will speed up. First your palm will get 2-3 simple grass-looking leaves, but later the specifically shaped leaves will appear. Use house plant fertilizer according to the instructions printed on the label. To prevent from fungus and rot, give the seedlings plenty of fresh air and enough sun, you may apply fungicide once in a while. |
|

|
|
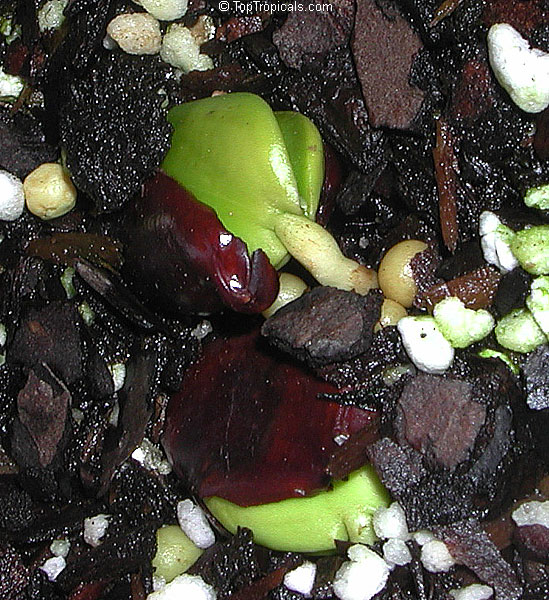
Fabiana
is separating
|
Bulbs should be planted at a depth where the "neck" is just under the soil line. If you feel you live in an environment that might be borderline for plant hardiness, you can probably get away with placing the bulb at a depth that has the "neck" about 1" below the soil line. When planting bulbs in groups, place them about 2" apart. If your bulb has living roots, dig the hole so the roots may be spread out. Just like spring bulbs, these benefit from a handful of bone meal per one or two bulbs in the planting hole. Water in thoroughly. They prefer a well-drained soil and full sunlight. They are quite forgiving with soil quality. Because most of them bloom in response to cycles of water deprivation and surplus, they are excellent for inducing bloom in potted culture, too.